> For the complete documentation index, see [llms.txt](https://docs.langstack.com/welcome/llms.txt). Markdown versions of documentation pages are available by appending `.md` to page URLs; this page is available as [Markdown](https://docs.langstack.com/welcome/in-depth-learning/connectors/google-drive-connector/using-google-drive-connector-in-etl-pipeline/google-drive-connector-as-a-destination.md).
# Google Drive connector as a destination
The ETL pipeline, to transfer customer data from a Langstack entity to a csv file on Google Drive, is created as follows.
{% hint style="info" %}
To see step-by-step instructions of how to create an ETL pipeline, [click here](/welcome/get-started/learn-langstack/introduction-to-etl-pipeline.md).
{% endhint %}
* An ETL pipeline named “TestEntitytoGDrive” is created.
* To connect to the data source, the necessary information is added in the Data source section:
1. The “Entity” tab is selected.
2. The “Test\_Customers\_Entity” entity is selected from the drop-down menu.
* To connect to the data destination, the necessary information is added in the Data destination section:
1. The “Connector” tab is selected.
2. For this example, “GDrive123” is selected from the drop-down menu. The connector can be added by selecting a connector from the drop-down menu or a new connector can be created by clicking the \[+] button.
3. To go to the settings, click the “Edit the settings” arrow.
* To disallow multiple simultaneous runs of the ETL pipeline, the toggle button is left enabled for “skip execution while in progress”. \
Enabling this toggle button defines that the execution of this ETL pipeline will be skipped when there is one already in progress.
* The default selection for ETL pipeline execution is “Immediate”.
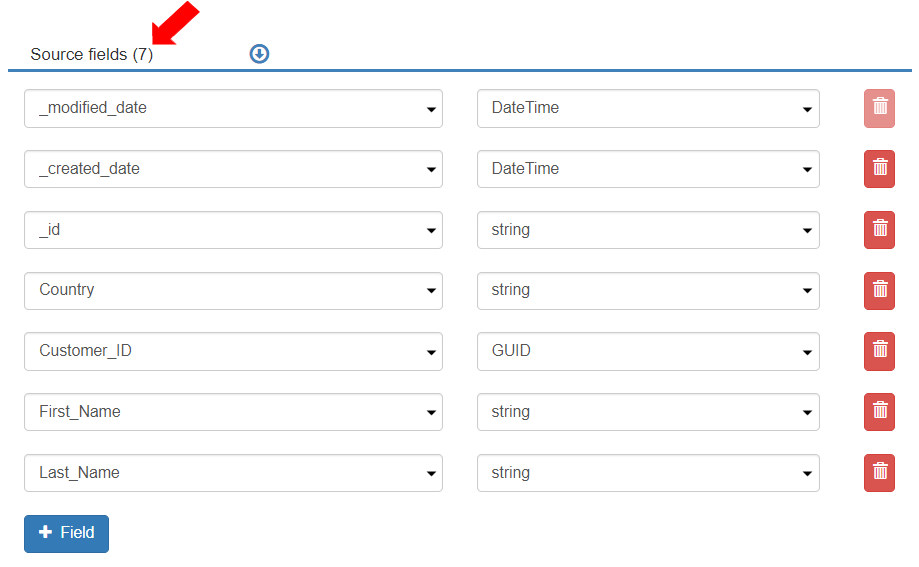
* To align the source fields with destination fields, the settings for the reader and writer format are defined in the “Data Format” tab. The “Reader” tab is selected by default.\
For this example, the fields are added as per the image below.
* To update the settings for how the data should be written, select the “Writer” tab.
1. The writer stream is “CSV Stream.”
2. To add the table name, click on the “Edit the settings” arrow.
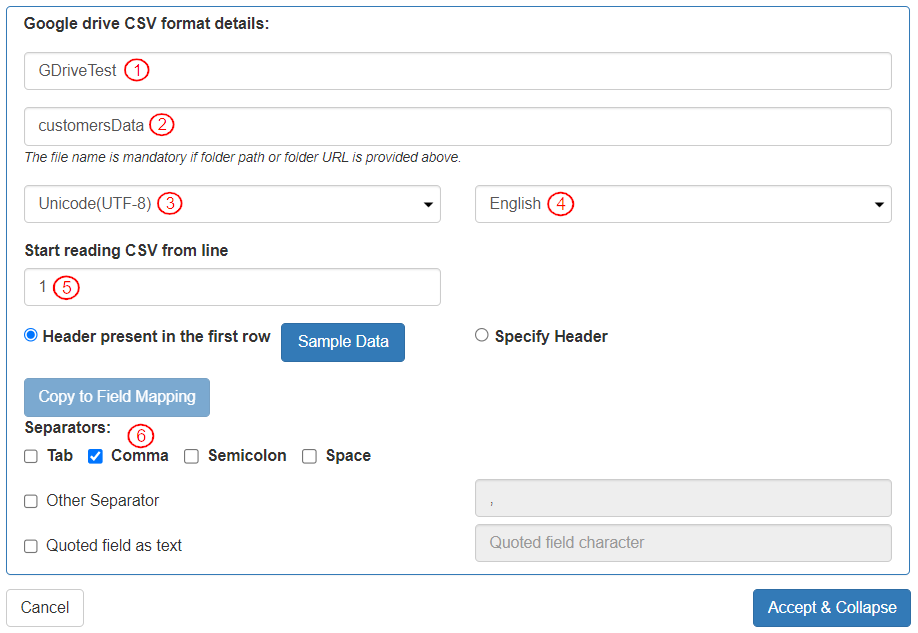
* To add details necessary to write the records, the settings in this section “Google drive CSV format details:” are defined as follows:
1. In the field “File path or File URL or Folder path or Folder URL” the Google drive folder name is entered "GDriveTest".
2. The “File name” is entered as “customersData”.
3. The “CharacterSet” is selected as “Unicode(UTF-8)”.
4. The “Language” is selected as “English”.
5. The “Start reading CSV from line” is defined as “1”.
6. The “separator” is selected as “Comma”.
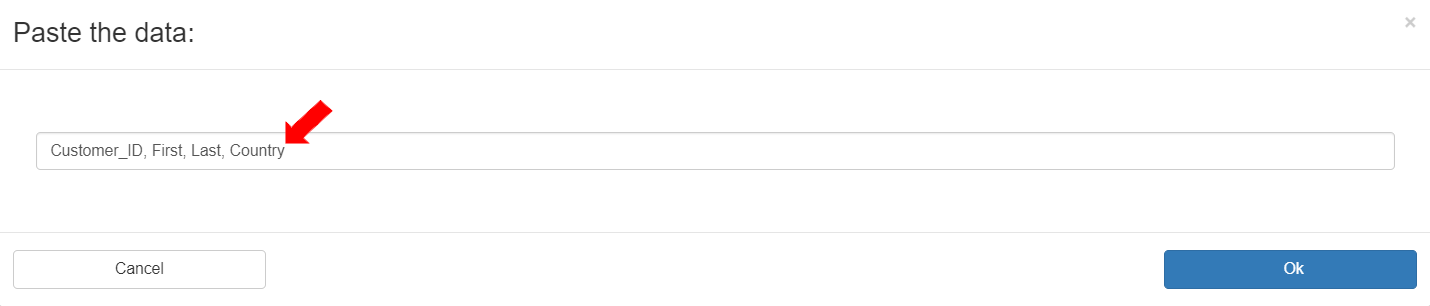
* In the “Sample data”, the column names of the entity are pasted: “Customer\_ID,First,Last,Country”.
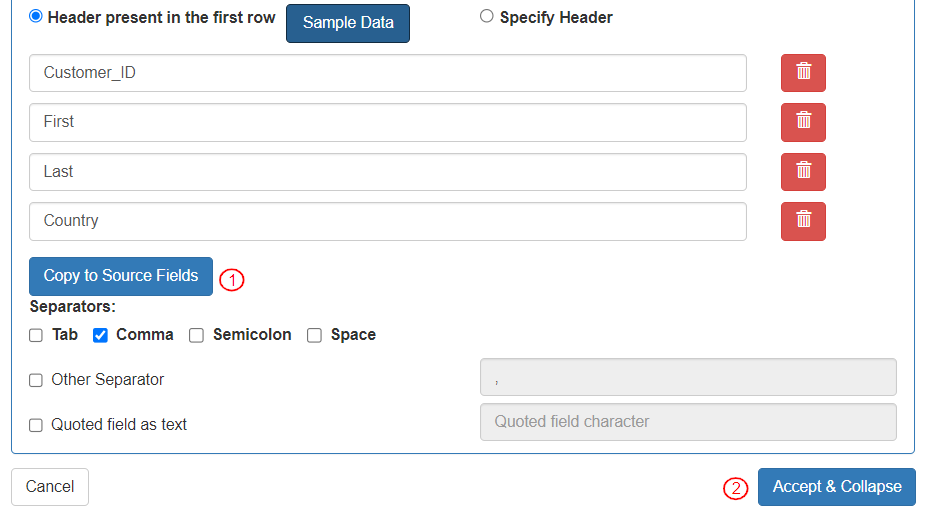
* Once the sample data is added, the writer fields are displayed:
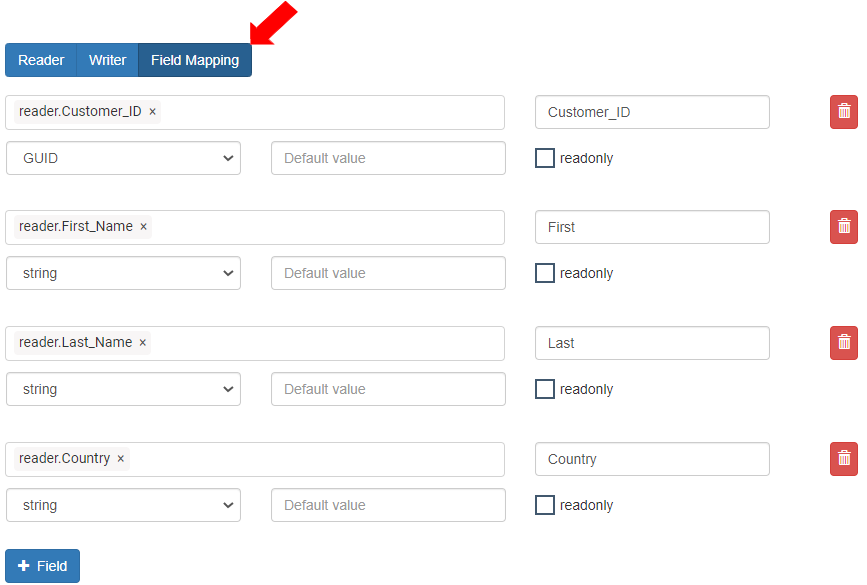
* The column names are copied to Field Mapping by clicking “Copy to Field Mapping”.
* Click on "Accept & Collapse" to save the information.
* The “Writer” mode is “Append”.
* In the Field Mapping section, all the “Mapped Fields” are aligned.
* When the ETL pipeline is executed (after Save and Publish), the records will be added to the destination.