> For the complete documentation index, see [llms.txt](https://docs.langstack.com/welcome/llms.txt). Markdown versions of documentation pages are available by appending `.md` to page URLs; this page is available as [Markdown](https://docs.langstack.com/welcome/get-started/learn-langstack/introduction-to-etl-pipeline/exercise-1-skip-customer-records/step-4-store-the-skipped-customer-record.md).
# Step 4: Store the Skipped Customer record
Once all the skipped customer records are stored in the list, and the ETL pipeline has been executed, the “On Completed” function is executed.
This exercise defines actions in the “On Completed” function to store the deleted records details in a target entity.
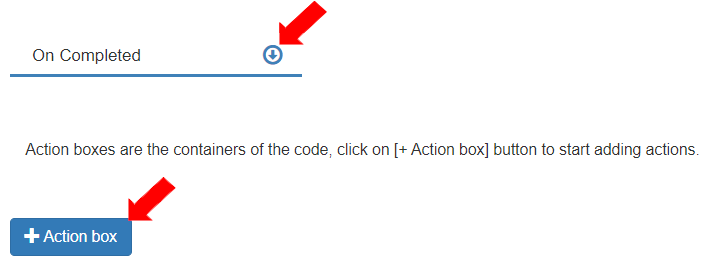
* To define the Actions to be executed once the ETL pipeline run is completed, go to the Code tab>On Completed function. \
To define the actions, add an “Action box” by clicking the \[+ Action box] button.
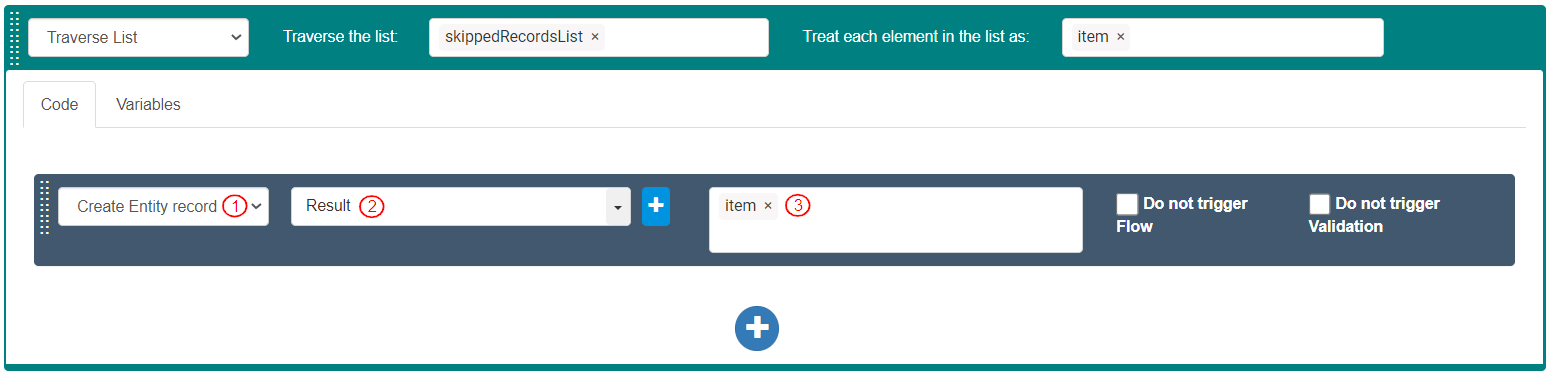
* To traverse the list of skipped records, add and define the following action in the “Code” tab:
1. Select Action as “Traverse List”.
2. Select Target Value as “skippedRecordsList”.
3. The Variable “item” is created.
* To create the entity record for the skipped records detail from the traversed item, add and define an action in the Traverse List action as follows:
1. Select Action as “Create Entity record”.
2. Create the JXPResponse variable “Result” by clicking the \[+] button.
3. The Entity variable “item” is created.
4.
```
```
* To save the ETL pipeline, click \[Save].
* To publish the ETL pipeline, click \[Publish].
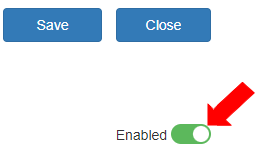
* Ensure the ETL pipeline is enabled.
* Click the \[Run] button.
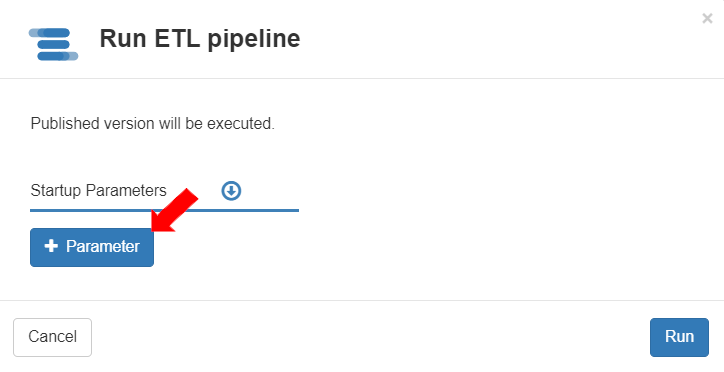
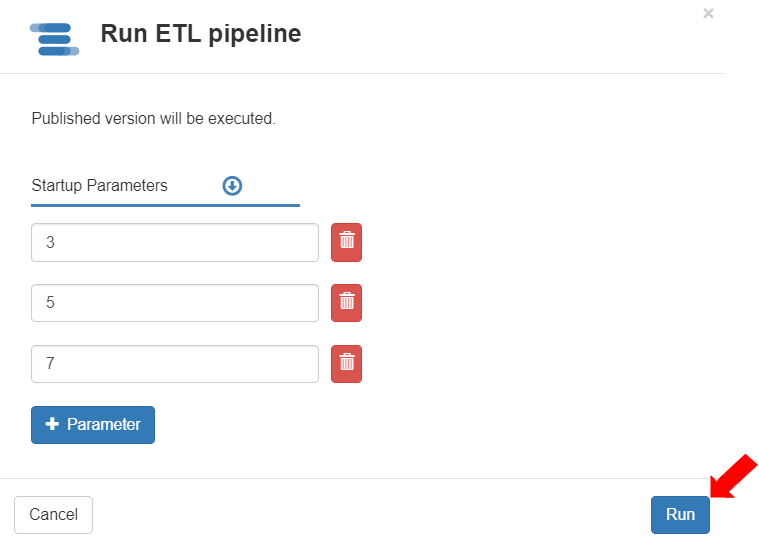
* The Run ETL pipeline dialog box displays. \
To add a parameter (to add value for StartupParameters) click the \[+ Parameter] button. \
Add three (3) parameters.
* To skip records with Customer\_ID as “3”, “5”, and “7”, enter the StartupParameters as per the image below. \
These values will be traversed to match with the Customer\_ID to skip creating relevant records. \
To run the ETL pipeline, click the \[Run] button.
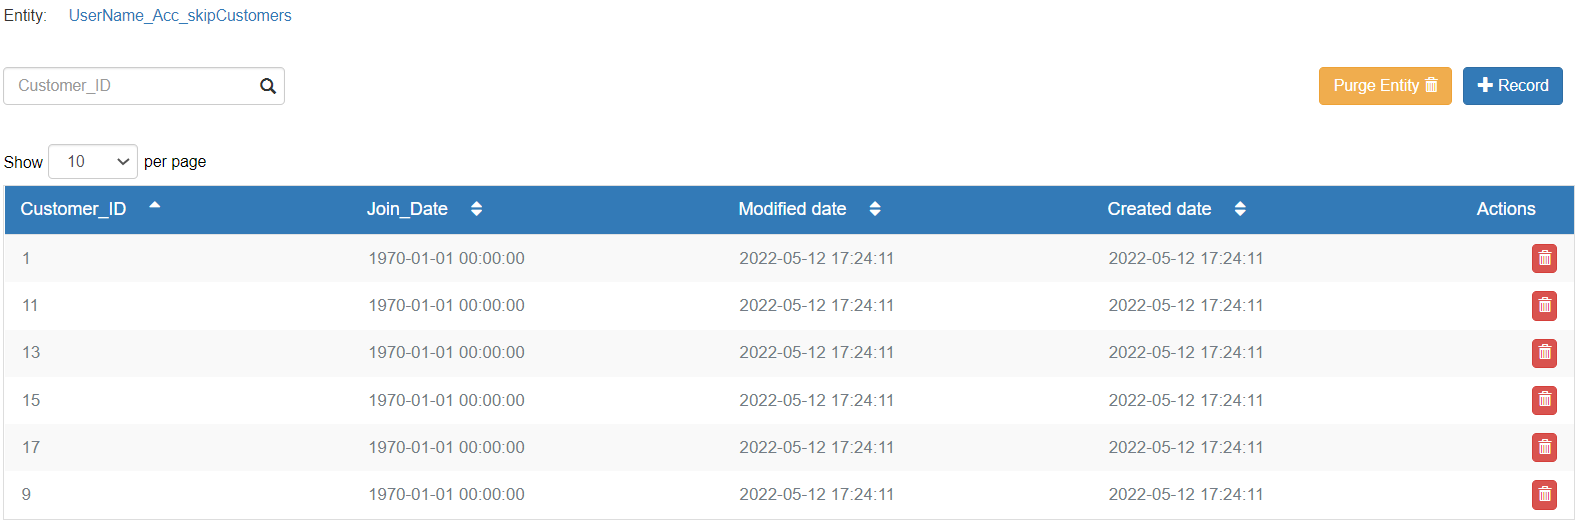
* For a list of Customer IDs ranging between 1 and 17 (odd numbers), the records with Customer\_D “3”, “5”, and “7” are skipped in the target destination.