# Step 1: Create the Flow component
The first step is to create a Flow component. This Flow component will be part of the Flow twice. The user enters configuration values in the Flow component through Field Mapping.
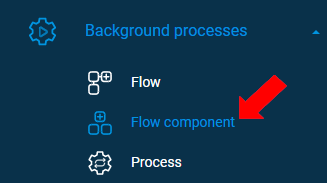
* To go to the Flow component, click “Flow component” under the “Background processes” menu on the left side panel.
* To create a new Flow component, click \[+ Flow component].
* The “Details” tab is selected by default.
1. To define the Flow component, label it as “ActivityEmailSender”.
2. To elaborate on the purpose of this Flow component, optionally enter a description.
3. To store information/logs regarding the execution of the Flow component and associated events, create a “Flow Progression Entity” labeled as "UserName\_flowApp\_progression” by clicking the \[+] button.

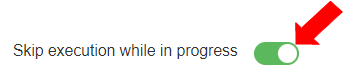
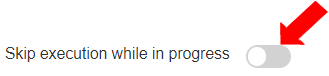
* To enable execution of multiple requests, disable “Skip execution while in progress” by clicking the toggle button.
{% hint style="info" %}
By default, it is enabled. If this remains enabled then the Flow component will not be triggered for the other requests while one request is in progress. Since more than one request will be received simultaneously, if one customer request is in progress, additional requests will be skipped.
{% endhint %}
* To define the Mapped Fields, expand the “Field Mapping” section by clicking on the arrow. Mapped Fields are input fields for this Flow component.\
(When the Flow component is placed in a Flow, the user can assign values to these fields in the form of constant text or from relevant sources before executing the Flow.)\
To add a new field, click \[+ Field]. Add nine (9) mapped fields.
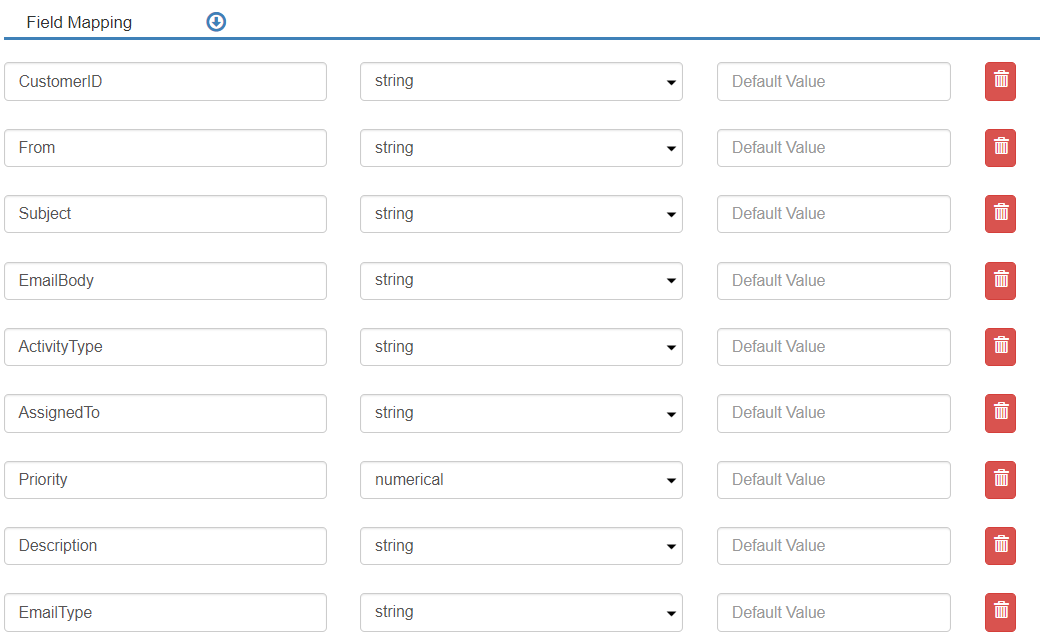
* To set up the Mapped Fields, define the fields as follows:
1. Mapped Field: “CustomerID”, Data Type: “string”. This mapped field will contain Customer ID information.
2. Mapped Field: “From”, Data Type: “string”. This mapped field will contain the text displaying which person or team sent the email.
3. Mapped Field: “Subject”, Data Type: “string”. This mapped field will contain the contents of the email subject.
4. Mapped Field: “EmailBody”, Data Type: “string”. This mapped field will contain the contents of the email subject.
5. Mapped Field: “ActivityType”, Data Type: “string”. This mapped field will contain the value of the type of activity being recorded for the customer.
6. Mapped Field: “AssignedTo”, Data Type: “string”. This mapped field will contain the information about who the task was assigned to.
7. Mapped Field: “Priority”, Data Type: “numerical”. This mapped field will contain the priority of the activity in terms of a numerical value.
8. Mapped Field: “Description”, Data Type: “string”. This mapped field will contain the description of the activity.
9. Mapped Field: “EmailType”, Data Type: “string”. This mapped field will contain the description of the type of email e.g. Marketing email.
* After all fields are defined, the Field Mapping section will be as per the image below.
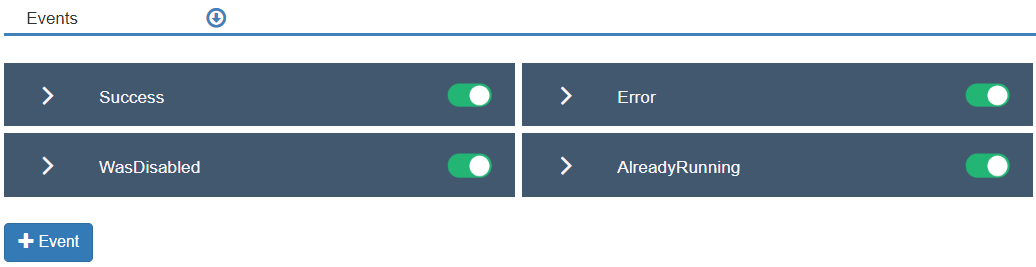
* To expand the “Events” section, click on the “Events” arrow.\
In this section, the users define the events that may be triggered during the execution of the Flow component.
* When a Flow component is created, its four (4) predefined Events are displayed in this section:
1. “Success”
2. “Error”
3. “WasDisabled”
4. “AlreadyRunning”
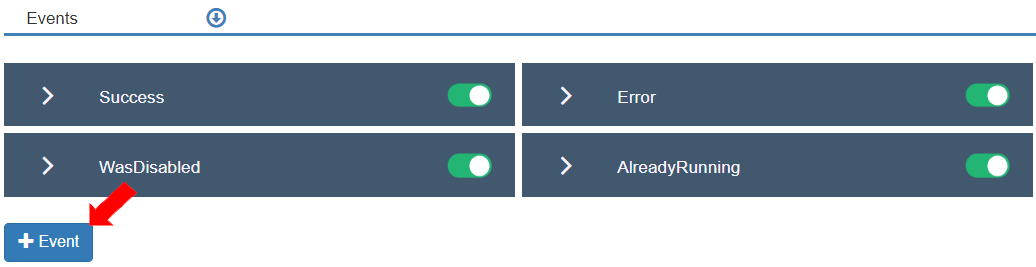
* To create a new “Event”, click the \[+ Event] button.
* The Event box displays. It is enabled by default.
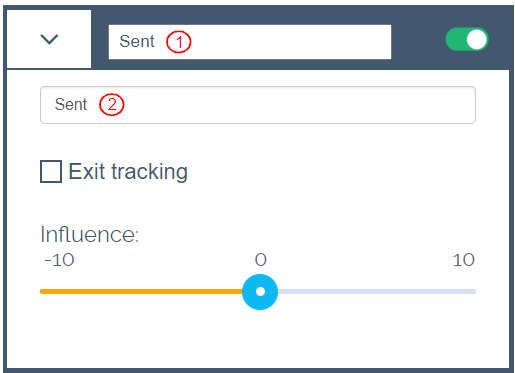
* To define the Event:
1. Enter the Event name to be displayed.
2. Enter the Event name for the platform.
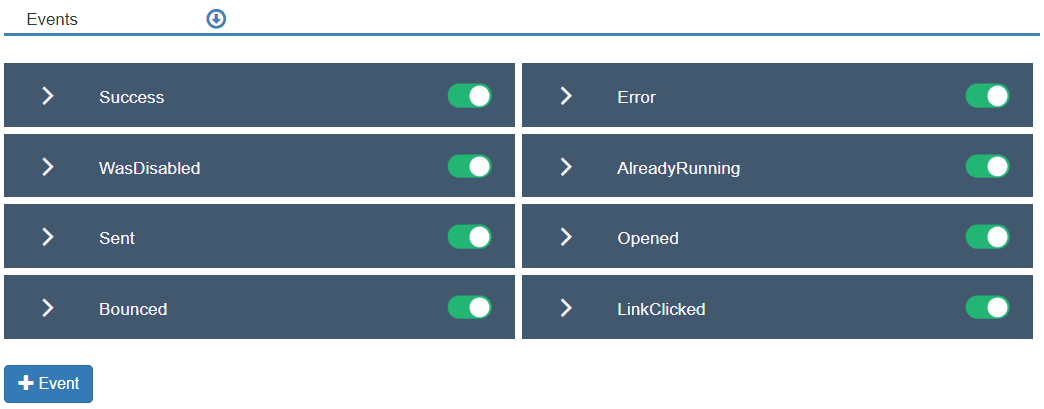
* To associate more Events with this Flow component, create the following additional events.
1. “Sent”: This Event is triggered when the email is sent.
2. “Opened”: This Event is triggered when the email is opened.
3. “Bounced”: This Event is triggered if the email bounces back i.e. it is not delivered.
4. “LinkClicked”: This Event is triggered when the link in the email is clicked. If a link is provided in the email and the user clicks it, the Event will trigger the Flow component connected to it in the Flow.
* To configure the icon for this Flow component, click the “Langstack” icon on the right-hand side.
* A dialog box displays. To select the image to load as the Flow component icon, click on the “Langstack” icon or “Upload icon” button. In this exercise, the Mail icon is selected. (user can choose any image).\
To save the image, click the \[Save] button.
* The new icon displays.
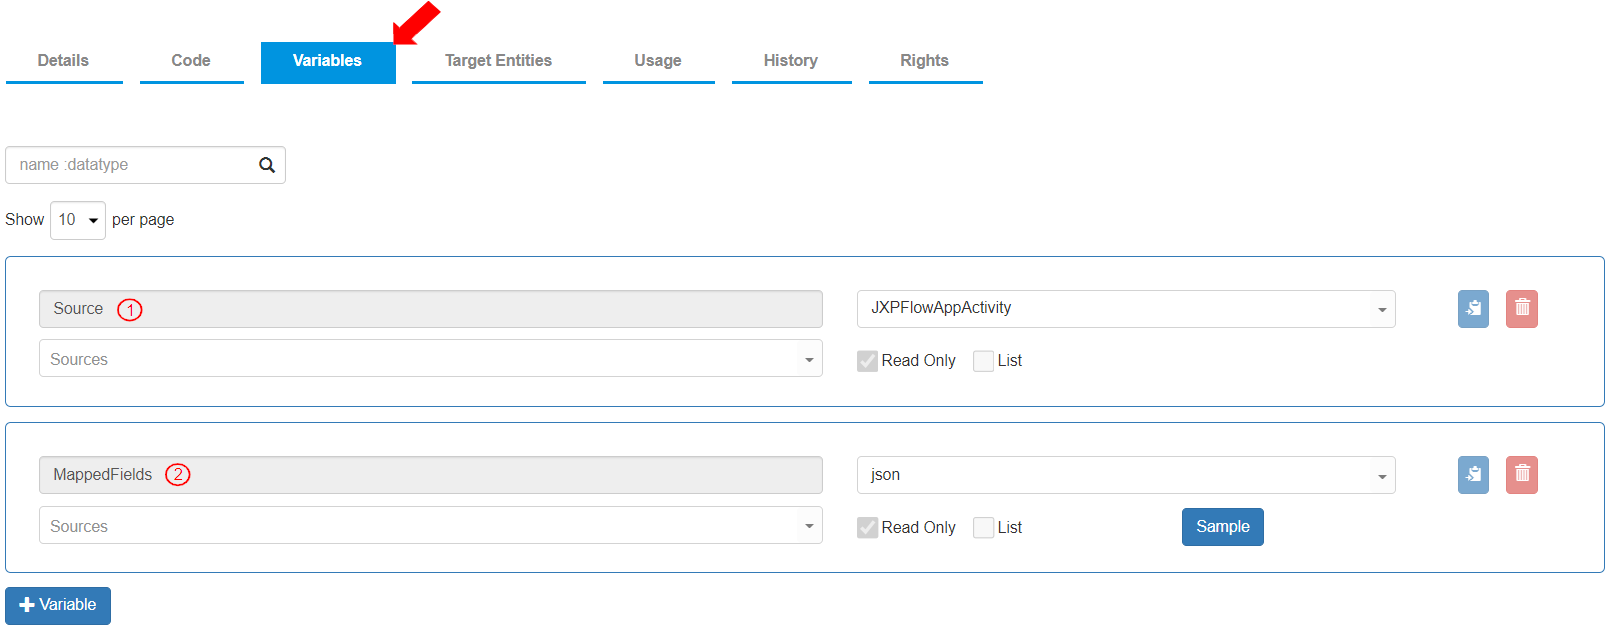
* To view the predefined variables for the Flow component, go to the “Variables” tab.\
Two (2) variables are already defined to store the values entered by the user in defining the Flow component Mapped Fields.
1. Variable Name: “Source”, Data Type: “JXPFlowAppActivity”. This variable contains a number of elements relevant to the Flow component activity in a Flow that hold a certain value.
2. Variable Name: “MappedFields”, Data Type: “json”. Mapped fields contain the values in Json format.
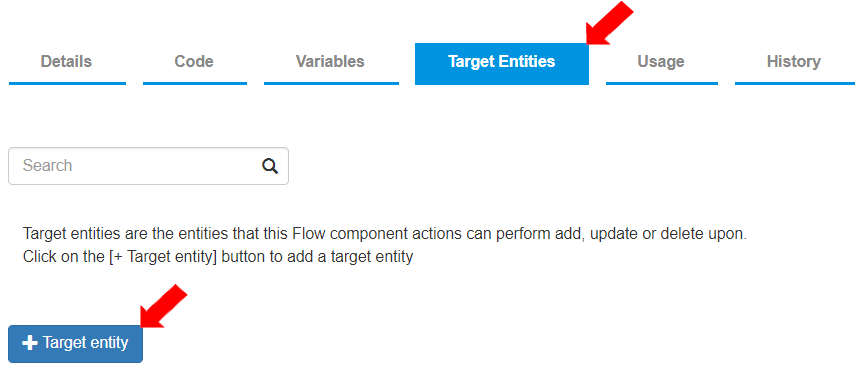
* To create a new “Target Entity”, go to the “Target Entities” tab and click the \[+ Target entity] button.
* To define the target entity, select “UserName\_Acc\_Activities” from the drop-down menu. The created record with this Flow component will be stored in this entity.
* To define a sequence of Actions to create an entity record in the target entity, go to the “Code” tab.\
To create a new “Action box”, click the \[+ Action box] button.

* Label the Action box as “create anniversary email record”. In this “Action box”, the necessary actions will be added and configured to create an anniversary email record for the customer.
* To define the variables to be used in the “Action box”, expand the “Action box” and go to the “Variables” tab.\
To create a new variable to store values, click the \[+ Variable] button.
* To load the records from the entity “UserName\_Acc\_customers” into a variable, define the variable as follows:
1. Variable Name: “Customer”
2. Data Type: “UserName\_Acc\_customers”
* To add Actions, go to the “Code” tab in the Action box to add Actions.
* To load the entity record into the variable “Customer”, add and define this first Action as follows:
1. Select Action as “Load Entity record”.
2. From the drop down menu, select the variable “Customer”. The entity record will be loaded into the variable “Customer”.
3. To configure the criteria settings, click the “Criteria settings” icon.
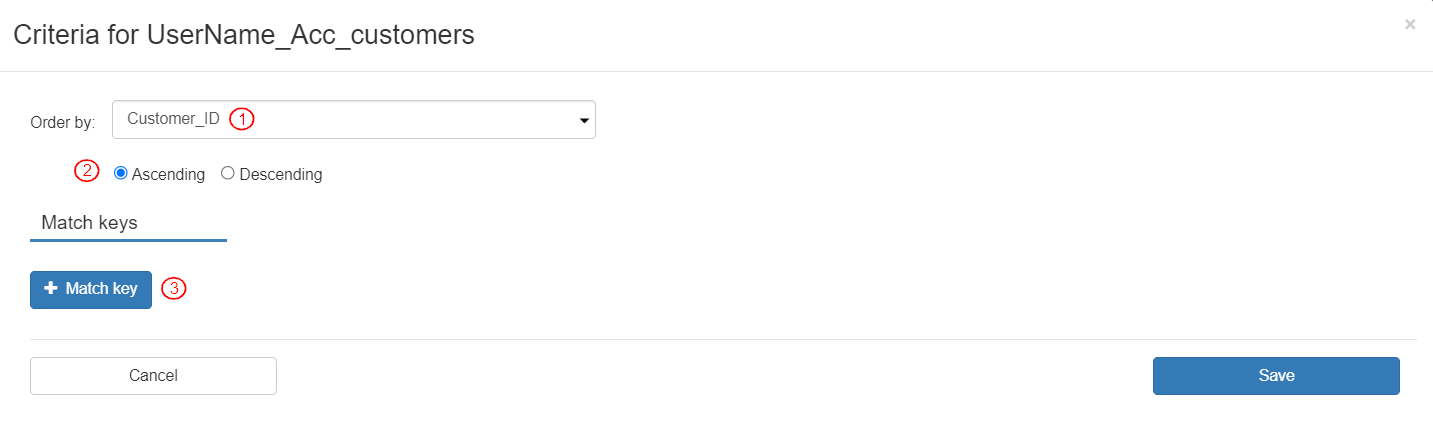
* To configure the settings for how the records of the entity will be loaded into the variable, in the “Load Entity record” Action criteria settings, define the following fields:
1. Select “Order by” as “Customer\_ID”. The records will be displayed by ordering the “Customer\_ID” field.
2. Sort in “Ascending” order. The records will be loaded in ascending order.
3. Create a new “Match key” by clicking the \[+ Match key] button.
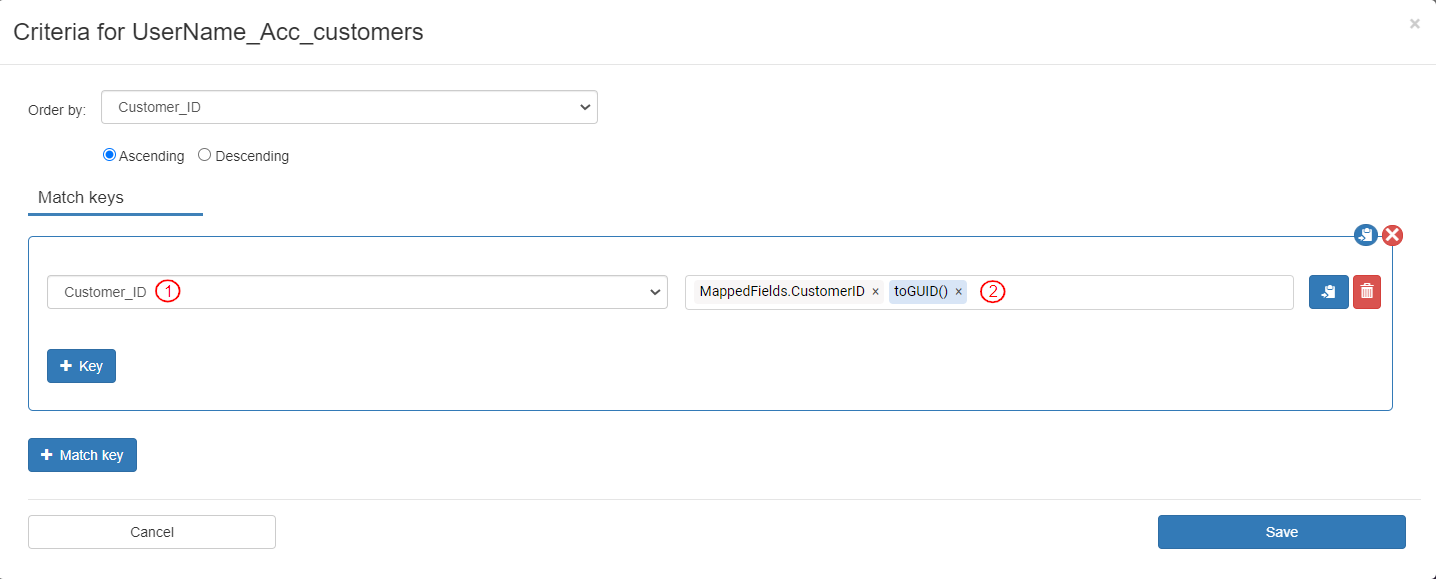
* Define the match key as follows:
1. Select the field “Customer\_ID” from the drop down menu. This match key maps the “Customer\_ID” field in the entity to the field “CustomerID” in the “Mapped Fields”.
2. Select the source as Variables>MappedFields>CustomerID>toGUID(). It is displayed as “MappedFields.CustomerID.toGUID()”. The value of the “CustomerID” provided in the mapped field of the Flow component by the user will be aligned with the “Customer\_ID” field (after conversion from Json to GUID) in the entity.
3. Click the \[Save] button.
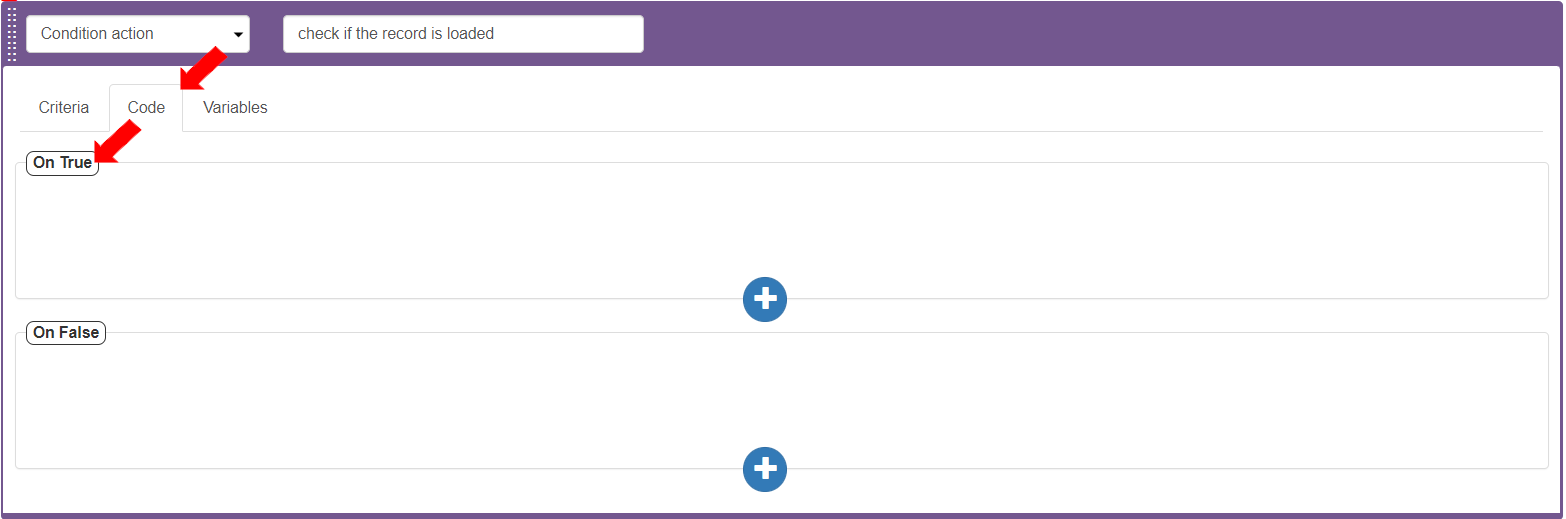
* To check if the record is loaded, add another Action and define it as follows:
1. Select Action as “Condition action”.
2. Enter the description as “check if the record is loaded”.
* To define the variables to be used in the “Condition action”, expand the “Condition action” and go to the “Variables” tab. Create two (2) variables.
* To convert the record in the Customer variable into Json before triggering the Flow component activity, define the first variable as follows:
1. Variable Name: “JS”
2. Data Type: “Json”
* To update the values of the record fields to be loaded into the entity “UserName\_Acc\_Activities”, define the second variable as follows:
1. Variable Name: “CustomerActivity”
2. Data Type: “UserName\_Acc\_Activities”
* To define the criteria for this action, go to the “Criteria” tab. To verify if the record is loaded, add and define a Criteria bar as follows:
1. Select Variables>Customer. It is displayed as “Customer”.
2. Select the Operator as “Is Set”.
* To define the actions in case the criteria returns a True value, go to the Code tab>On True section.
* To define a sequence of actions to create an email activity record, define a Group action as follows:
1. Select Action as “Group action”. The actions defined within a Group action are treated as a group. When the Group action is changed in the position or copied, the changes are applied to all the actions defined within the group.
2. Add the description as “create an email activity”. This action contains a sequence of actions to create an email activity and update it in the “UserName\_Acc\_Activities” entity.
* To create a new Action in the Group action, click the (+) button in the Group action.\
To update the values of the new record, add nine (9) Actions in the Group action by clicking the (+) button.
* To update the “Activity\_AssignedTo” field of the record with the value from the mapped field “AssignedTo” (defined in the Details>Field Mapping section), define the first Action as follows:
1. Select Action as “Update Variable”.
2. Select Target variable as CustomerActivity>Activity\_AssignedTo. It is displayed as “CustomerActivity.Activity\_AssignedTo”.
3. Select Value as Variables>MappedFields>AssignedTo. It is displayed as “MappedFields.AssignedTo”.
* To update the “Activity\_CreatedBy” field of the record with the text “ActivityEmailSender Flow component”, define the second Action as follows:
1. Select Action as “Update Variable”.
2. Select Target variable as CustomerActivity>Activity\_CreatedBy. It is displayed as “CustomerActivity.Activity\_CreatedBy”.
3. Type Value as “ActivityEmailSender Flow component” and press Enter. It will display in a blue bubble.
* To update the “Activity\_DateTime” field of the record with the current date, define the third Action as follows:
1. Select Action as “Update Variable”.
2. Select Target variable as CustomerActivity>Activity\_DateTime. It is displayed as “CustomerActivity.DateTime”.
3. Select Value as Functions>DateTime>Now(). It is displayed as “DateTime.Now()”.
* To update the “Activity\_Description” field of the record with the value from the mapped field “Description” (defined in the Details>Field Mapping section), define the fourth Action as follows. (The value in this field is entered as a string by the user in the Flow component.)
1. Select Action as “Update Variable”.
2. Select Target variable as CustomerActivity>Activity\_Description. It is displayed as “CustomerActivity.Activity\_Description”.
3. Select Value as Variables>MappedFields>Description. It is displayed as “MappedFields.Description”.
* To update the “Activity\_Priority” field of the record with the value from the mapped field “Priority” (defined in the Details>Field Mapping section), define the fifth Action as follows.
1. Select Action as “Update Variable”.
2. Select Target variable as CustomerActivity>Activity\_Priority. It is displayed as “CustomerActivity.Activity\_Priority”.
3. Select Value as variables>MappedFields>Priority>toInteger(). It is displayed as “MappedFields.Priority.toInteger()”.\
(The value is entered as a string by the user and converted to Integer before creating the record.)
* To update the “Activity\_Type” field of the record with the value from the mapped field “EmailType” (defined in the Details>Field Mapping section), define the sixth Action as follows. The value is entered as a string by the user in the Flow component.
1. Select Action as “Update Variable”.
2. Select Target variable as CustomerActivity>Activity\_Type. It is displayed as “CustomerActivity.Activity\_Type”.
3. Select Value as Variables>MappedFields>EmailType. It is displayed as “MappedFields.EmailType”.
* To update the “Activity\_Status” field with details including the customer email and the type of email sent, define the seventh Action as follows:
1. Select Action as “Update Variable”.
2. Select Target variable as CustomerActivity>Activity\_Status. It is displayed as “CustomerActivity.Activity\_Status”.
3. In the Value, define two (2) values that together display as : “Email sent to the customer email” “Customer.Email”. For example, the email sent to customer email address “”, it will be displayed in the entity as “Email sent to the customer email ”.”
1. First type constant text as “Email sent to the customer email ” and press Enter. It is displayed in a blue bubble.
2. In the same field, select Variables>Customer>Email. It is displayed as “Customer.Email”.
* To update the “Customer\_ID” field of the record with the value from the mapped field “CustomerID” (defined in the Details>Field Mapping section), define the eighth Action as follows. (The value is entered as a string by the user in the Flow component and converted to GUID before creating the record in the entity.)
1. Select Action as “Update Variable”.
2. Select Target variable as CustomerActivity>Customer\_ID. It is displayed as “CustomerActivity.Customer\_ID”.
3. Select Value as Variables>MappedFields>CustomerID>toGUID(). It is displayed as “MappedFields.CustomerID>toGUID()”. The value is entered as a string by the user in the Flow component and converted to GUID before creating the record in the entity.
* To create the record into the “UserName\_Acc\_Activities” entity and get the “JXPResponse” when the entity record is created, define the last Action in the Group action as follows:
1. Select Action as “Create Entity record”.
2. Click \[+] and add a variable named “Result”. This variable is of JXPResponse data type and is displayed in the “Variables” tab of the “Action box”. This variable will contain the response to display when the created record is loaded into the target entity.
3. Select Value as “CustomerActivity”. This variable contains the values of the entity fields updated in the “Group action”.
* To update the customer entity record into a json variable before triggering the Flow component Event, add another Action by clicking the (+) button in the “Action box” *after* the “Group action” (within the “On True” section).
* To update the target variable “JS” with details in the Customer variable,define the Action as follows:
1. Select Action as “Update Variable”.
2. Select Target variable as “JS”.
3. Select Value as Variables>Customer>toJson(). It is displayed as “Customer.toJson()”.
* To trigger the Flow component event with an event Sent, add the last Action as follows:
1. Select Action as “Trigger Flow component event”.
2. Select JXPFlowAppActivity as “Source”.
3. Enter the Event name as “Sent”.
4. Select Details json as “JS” (Variables>JS).
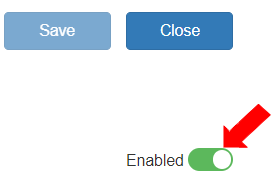
* To save the Flow component, click the \[Save] button.
* To publish the Flow component, click the \[Publish] button.
* To enable the Flow component, in the Details tab click the toggle button to set it as “Enabled”.
---
# Agent Instructions: Querying This Documentation
If you need additional information that is not directly available in this page, you can query the documentation dynamically by asking a question.
Perform an HTTP GET request on the current page URL with the `ask` query parameter:
```
GET https://docs.langstack.com/welcome/get-started/learn-langstack/introduction-to-flows-and-flow-components/exercise-1-customer-anniversary-email/step-1-create-the-flow-component.md?ask=
```
The question should be specific, self-contained, and written in natural language.
The response will contain a direct answer to the question and relevant excerpts and sources from the documentation.
Use this mechanism when the answer is not explicitly present in the current page, you need clarification or additional context, or you want to retrieve related documentation sections.