> For the complete documentation index, see [llms.txt](https://docs.langstack.com/welcome/llms.txt). Markdown versions of documentation pages are available by appending `.md` to page URLs; this page is available as [Markdown](https://docs.langstack.com/welcome/get-started/learn-langstack/validation-pipeline/exercise-customer-information/step-1-create-a-validation-pipeline.md).
# Step 1: Create a Validation pipeline
Create a Validation pipeline named “UserName\_Acc\_customers\_validation” and define it as follows:
* To go to the Validation pipeline, on the left side panel, click “Validation pipeline” under the “Data management” menu.
*
```
```
* To create a new validation, click on the \[+ Validation pipeline] button.
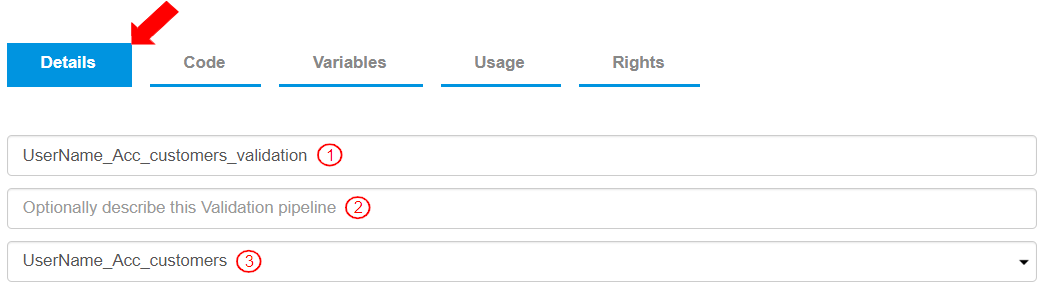
* The Details tab is selected by default. To define the Validation pipeline:
1. Enter Validation Name as “UserName\_Acc\_customers\_validation”.
2. Optionally enter a description for this Validation pipeline.
3. To define a target entity for this Validation pipeline, select the target entity from the drop-down menu as “UserName\_Acc\_customers”.
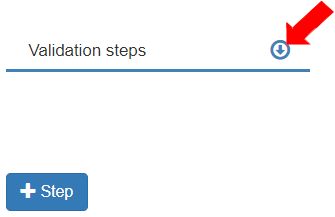
* To create a new Step, go to the Code tab and expand the Validation steps function.
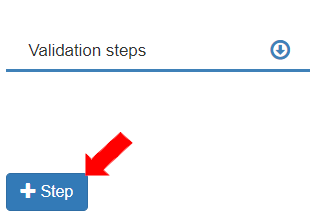
* To create a new step, click on the \[+ Step] button.
* A new Step is created with the label “Description”.
* To give the Step a more meaningful name, click the text “Description” and rename it to “check for mandatory fields”. This Step is defined to check that the values for the mandatory fields: First Name, Last Name, Email, and Phone are entered.
* To add Criteria bars in the step, click the (+) button. Add four (4) Criteria bars.
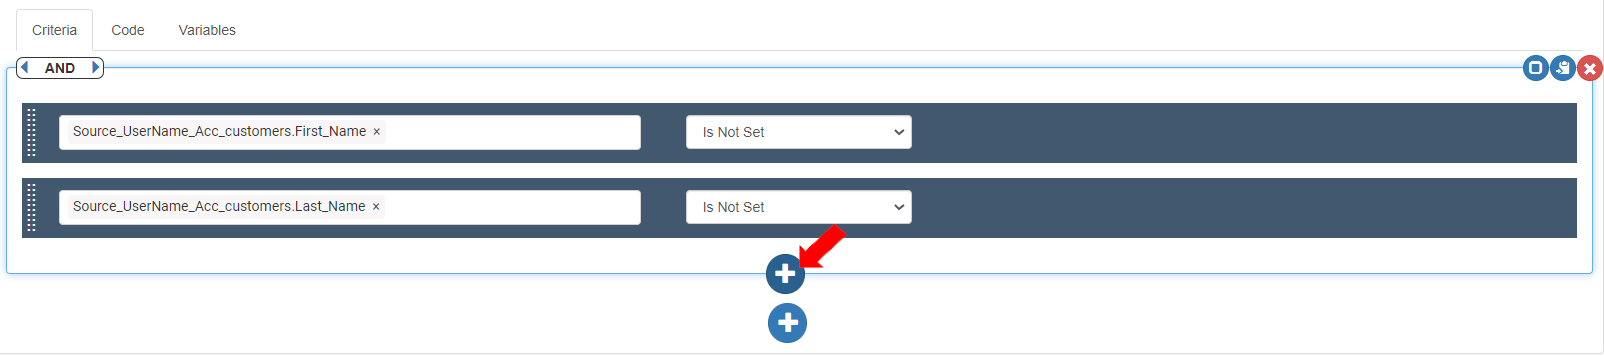
* To check if the value of the “First\_Name” field is not set, define the first Criteria bar as follows:
1. Select Source as Variables>Source\_UserName\_Acc\_customers>First\_Name. It is displayed as “Source\_UserName\_Acc\_customers.First\_Name”.
2. Select Operator as “Is Not Set”.
* To check if the value of the “Last\_Name” field is not set, define the second Criteria bar:
1. Select Source as Variables>Source\_UserName\_Acc\_customers>Last\_Name. It is displayed as “Source\_UserName\_Acc\_customers.Last\_Name”.
2. Select Operator as “Is Not Set”.
* When two Criteria bars are defined, they are grouped together by the AND operator. To add a third Criteria bar to the AND group, ensure to click the (+) immediately below the second Criteria bar.
* To check if the value of the “Email” field is not set, define the third Criteria bar:
1. Select Source as Variables>Source\_UserName\_Acc\_customers>Email. It is displayed as “Source\_UserName\_Acc\_customers.Email”.
2. Select Operator as “Is Not Set”.
* To check if the value of the “Phone” field is not set, define the fourth Criteria bar:
1. Select Source as Variables>Source\_UserName\_Acc\_customers>Phone. It is displayed as “Source\_UserName\_Acc\_customers.Phone”.
2. Select Operator as “Is Not Set”.
* To check if the values entered are just empty strings, add four (4) more Criteria bars.
* To check if the value of the “First\_Name” field is empty, define the fifth Criteria bar:
1. Select Source as Variables>Source\_UserName\_Acc\_customers>First\_Name. It is displayed as “Source\_UserName\_Acc\_customers.First\_Name”.
2. Select Operator as “Is Empty”.
* To check if the value of the “Last\_Name” field is empty, define the sixth Criteria bar:
1. Select Source as Variables>Source\_UserName\_Acc\_customers>Last\_Name. It is displayed as “Source\_UserName\_Acc\_customers.Last\_Name”.
2. Select Operator as “Is Empty”.
* To check if the value of the “Email” field is empty, define the seventh Criteria bar:
1. Select Source as Variables>Source\_UserName\_Acc\_customers>Email . It is displayed as “Source\_UserName\_Acc\_customers.Email”.
2. Select Operator as “Is Empty”.
* To check if the value of the “Phone” field is empty, define the eighth Criteria bar:
1. Select Source as Variables>Source\_UserName\_Acc\_customers>Phone. It is displayed as “Source\_UserName\_Acc\_customers.Phone”.
2. Select Operator as “Is Empty”.
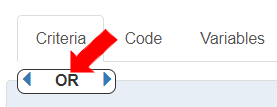
* Finally click on the logical operator “AND” to make it “OR”. This means if any of these Criteria bars are not valid or empty, proceed to the actions.
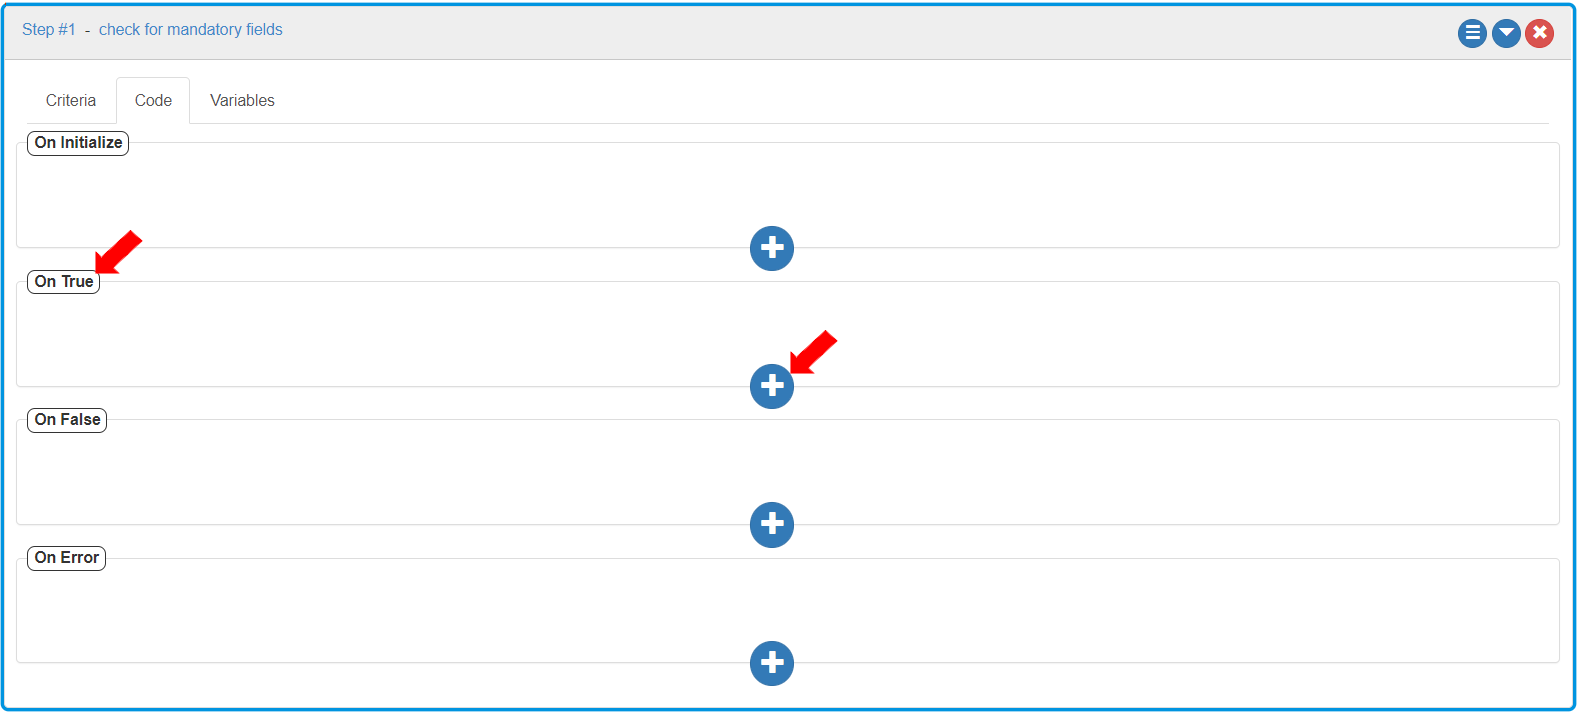
* To define Actions, go to the Code tab>On True section of Step 1.\
Add four (4) Actions by clicking the (+) button.\
If the criteria is validated to True, a sequence of actions in the “On True” section will be executed.\
\
In this case, the error response will be returned if the criteria is valid and any of the fields is not present or contains empty strings. Here, the details of the response are configured in case of “On True”.
* To define the first Action to update the errorcode in the Response as “400”:
1. Select Action as “Update Variable”.
2. Select Target variable as Response>errorcode. It displays as “Response.errorcode”.
3. In the Value, type the number as “400” and press Enter.
* To define the second action to update the message in the “Response”:
1. Select Action as “Update Variable”.
2. Select Target variable as Response>message. It displays as “Response.message”.
3. In the Value, type the text as “Complete mandatory fields: First Name, Last Name, Email and Phone.” and press enter.
* To define the third action to update the status of the “Response”:
1. Select Action as “Update Variable”.
2. Select the Target variable as Response>status. It displays as “Response.status”.
3. In the Value, type the text as “Missing mandatory field(s)” and press Enter.
* Add the last Action in the section as “Exit Validation” that exits with the value “false”. Based on the value of True or False, the On Validation step success or On Validation step fail function in the Validation>Code tab is executed.
1. Select Action as “Exit Validation”.
2. In the “Exit With” field, type “false” and press Enter.
* To check if the phone number is valid, add Step 2 and label it as “check if phone number is valid”.\
This Step will verify if the phone number entered is numeric and the length is between 7 and 10 digits.
* To verify the phone number data type, minimum length and maximum length, add three (3) Criteria bars by clicking the (+) button in the “Criteria” tab.
* To verify if the phone number is of numeric value, define the first Criteria bar as follows:
1. Select Source as Source\_UserName\_Acc\_customers>Phone>isNumeric(). It is displayed as “Source\_UserName\_Acc\_customers.Phone.isNumeric()”.
2. Select Operator as “Is Equal”.
3. Enter the Value as “true”.
* To verify if the phone number length is less than or equal to 10, define the second Criteria bar as follows:
1. Select Source as Source\_UserName\_Acc\_customers>Phone>length(). It is displayed as “Source\_UserName\_Acc\_customers.Phone.length()”. This measures the length of the strings entered into the field.
2. Select Operator as “Less Than Equal to”.
3. Enter the Integer value as “10”.
* To verify if the phone number length is greater than 7, define the third Criteria bar as follows:
1. Select Source as Source\_UserName\_Acc\_customers>Phone>length(). It is displayed as “Source\_UserName\_Acc\_customers.Phone.length()”. This measures the length of the strings entered into the field.
2. Select Operator as “Greater Than”.
3. Enter the Integer value as “7”.
* Keep AND as the logical operator.\
This means all of the Criteria bars must return true before executing the Code tab>On True section. If any of the Criteria bars does not return true, the Code tab>On False section Actions will be executed.\
The Criteria tab should be as per the image below.
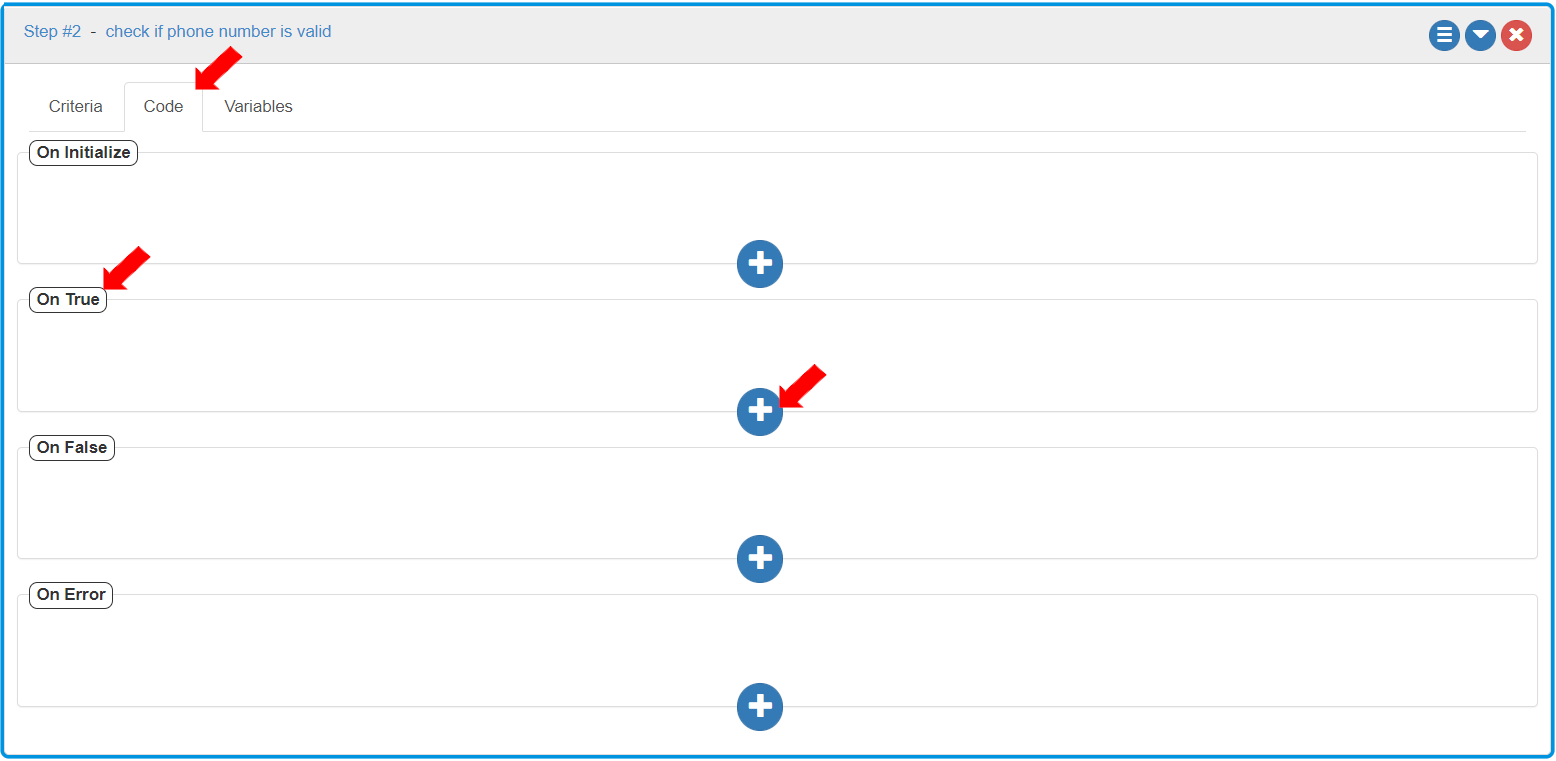
* To define the actions if the Criteria returns true, go to the Code tab>On True section of “Step 2” to define the sequence of actions.\
Add an Action by clicking the (+) button.
* To exit validation if the Criteria returns true, define the action as follows:
1. Select Action as “Exit Validation”.
2. In the “Exit With” field, type “true” and press Enter.\
\
Based on the value of the Exit Validation as true, the Validation>Code tab>On Validation step success section is executed followed by the execution of the “On Exit” section.\
If no Action in the On Validation step success section of Validation>Code tab is configured, only the “On Exit” section is executed.
* To define the response details in case invalid customer phone data is encountered, go to the Code tab>On False section.\
Add three (3) Actions by clicking the (+) button.
* To define the response message, define the first action to update the message in the Response.
1. Select Action as “Update Variable”.
2. Select Target Variable as Response>message. It displays as “Response.message”.
3. In the Value, type the text as “Phone number provided is invalid.” and press Enter.
* To define the response status, define the second action to update the status of the “Response” as “invalid data” .
1. Select Action as “Update Variable”.
2. Select Target Variable as Response>status. It displays as “Response.status”.
3. In the Value, type the text as “invalid data” and press Enter.
* To define the response error code, define the third action to update the errorcode in the “Response” as “401”.
1. Select Action as “Update Variable”.
2. Select Target Variable as Response>errorcode. It displays as “Response.errorcode”.
3. In the Value, type the number as “401” and press Enter.
* Add the last action in the section to define “Exit Validation” action as “false”. Based on the “false” value, the “On Validation step fail” section of the Validation>Code tab is executed.
1. Select Action as “Exit Validation”.
2. In the Exit With field, type “false” and press Enter.
* To save the Validation pipeline, click the \[Save] button.
* To publish the Validation pipeline, click the \[Publish] button.