> For the complete documentation index, see [llms.txt](https://docs.langstack.com/welcome/llms.txt). Markdown versions of documentation pages are available by appending `.md` to page URLs; this page is available as [Markdown](https://docs.langstack.com/welcome/get-started/learn-langstack/introduction-to-flows-and-flow-components/exercise-2-store-list-of-customers/step-1-create-the-flow-component.md).
# Step 1: Create the Flow component
The first step is to create a Flow component.
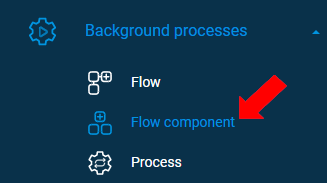
* To open the Flow component template, click “Flow component” under the “Background processes” menu on the left side panel.
* To create a new Flow component, click \[+ Flow component].
* The “Details” tab is selected by default.
* To label the Flow component, enter a meaningful Flow component name. In this exercise, label it as “UserName\_createlistofcustomers”.
* To elaborate on the purpose of this Flow component, enter a description.
* To store information/logs regarding the execution of the Flow component and associated events, create a “Flow Progression Entity” labeled as UserName\_flowApp\_progression” by clicking the \[+] button.

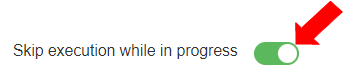
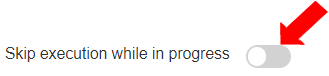
* To enable execution of multiple requests, disable “Skip execution while in progress” by clicking the toggle button.
{% hint style="info" %}
By default, it is enabled. If this remains enabled then the Flow component will not be triggered for the other requests while one request is in progress. Since more than one request will be received simultaneously, if one customer request is in progress, other requests will be skipped.
{% endhint %}
* To define the Mapped Fields, expand the “Field Mapping” section by clicking on the arrow. Mapped Fields are input fields for this Flow component. *(When the Flow component is placed in a Flow, the user can assign values to these fields in the form of constant text or from relevant sources before executing the Flow.)*\
To create a new field, click \[+ Field].
* To define the mapped field for this Flow component, go to the Field Mapping section. select the following values:
1. In the Mapped Field, enter “customer\_id”.
2. The data type is selected as “string”. Keep as is for this exercise.\
Note: At least one mapped field is mandatory in a Flow component. In this case, it has been defined as customer\_id.

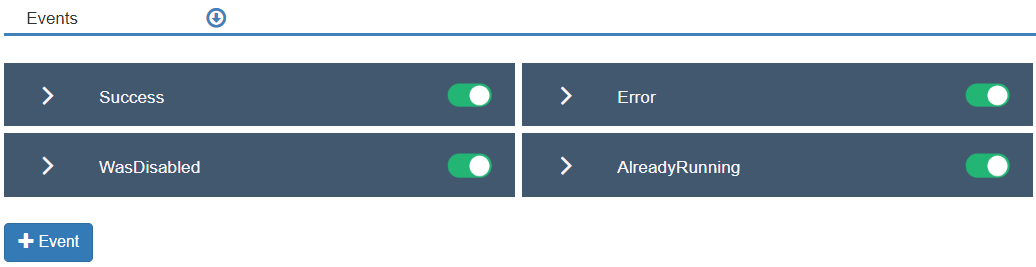
* To expand the “Events” section, click on the “Events” arrow.\
In this section, the users define the events that may be triggered during the execution of the Flow component.
* To view the predefined Events for this Flow component, go to the Events section. By default, four (4) events are already created and enabled.\
For this exercise, do not create additional events.
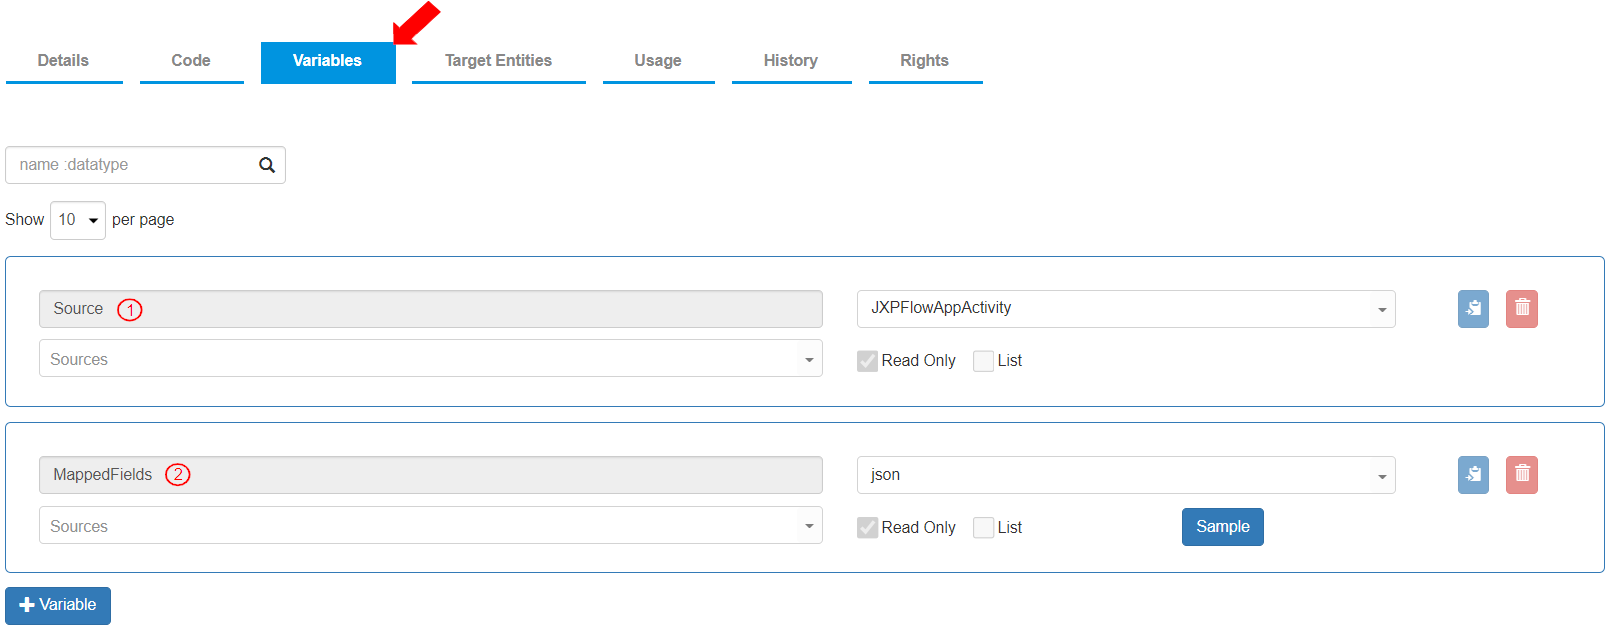
* To view the predefined variables for the Flow component, go to the “Variables” tab.\
Two (2) variables are already defined to store the values entered by the user in defining the Flow component Mapped Fields.
1. Variable Name: “Source”, Data Type: “JXPFlowAppActivity”. This variable contains a number of elements relevant to the Flow component activity in a Flow that hold a certain value.
2. Variable Name: “MappedFields”, Data Type: “json”. Mapped fields contain the values in Json format.
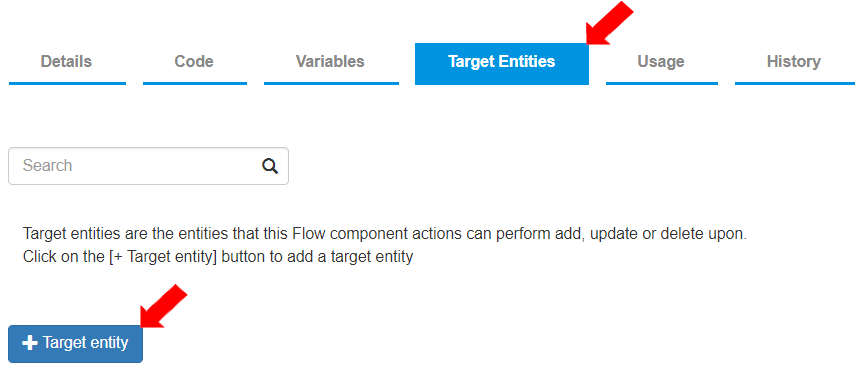
* To create a new “Target entity”, go to the “Target Entities” tab and click the \[+ Target entity] button.
* Select the Target entity as “UserName\_Acc\_customers” from the drop-down menu. This is the entity where the customer records will be created once triggered in the Flow.
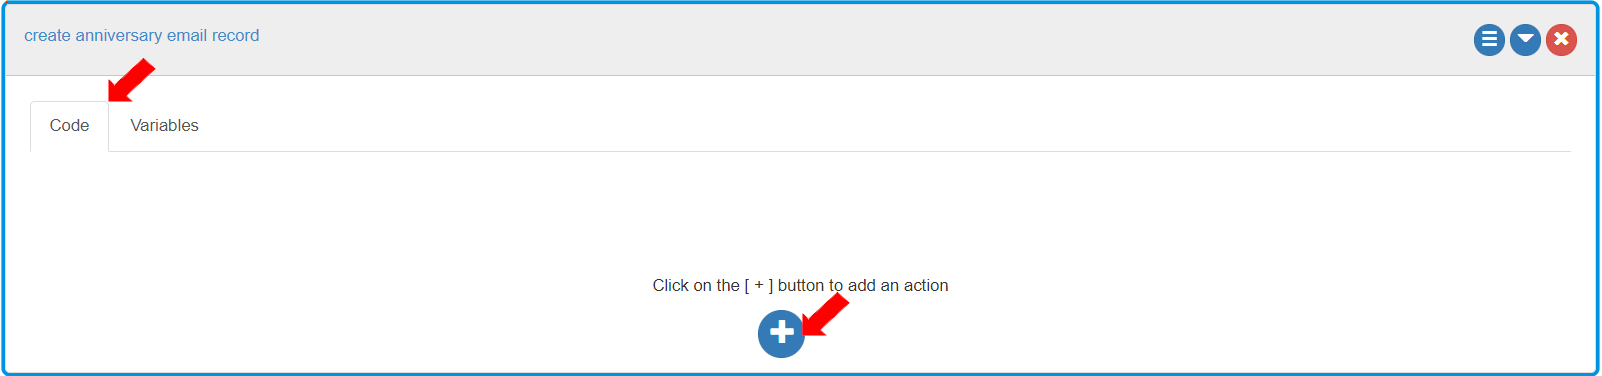
* To define a sequence of actions to create an entity record in the target entity, go to the “Code” tab.\
To create a new “Action box”, click the \[+ Action box] button.

* The “Action box” is default labeled as “Description”.\
To make the description of the “Action box” more meaningful, click on the “Description” text and enter the text as “create anniversary email record”. In this “Action box”, the necessary actions will be added and configured to create an anniversary email record for the customer.
* To define the variables for this “Action box”, go to the “Variables” tab.\
To create a new variable, click the \[+ Variable] button.

* To define the variables to receive the Json request from the API and send the response, create two (2) variables. Define the variables as follows:
1. Variable name: “requestJS”, Data type: “Json”. This variable contains the details received from the API.
2. Variable name: “result”, Data type: “JXPHttpRestResponse”. This variable contains the Rest Response.

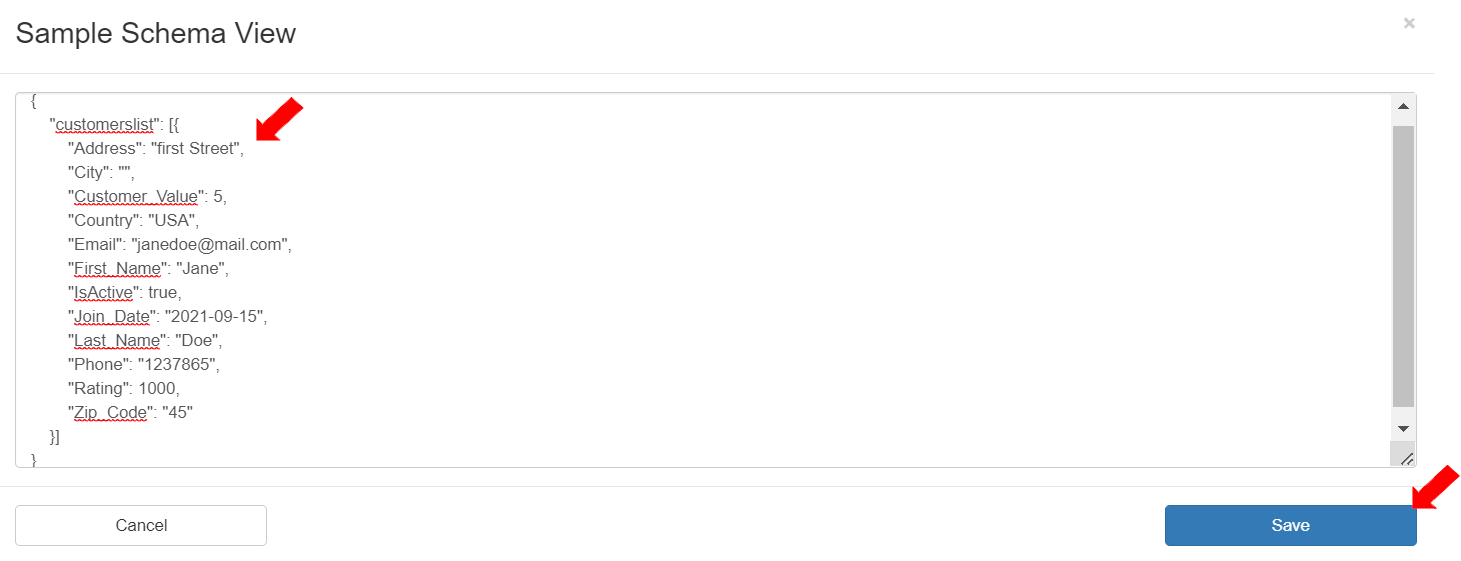
* To add a sample of the “requestJS” variable, click the \[Sample] button.
* To define the sample Json, add the following Json in the Sample Schema View.\
This Json defines that a list of customers will be stored in this variable.\
`{ "customerslist": [{`\
`"Address": "first Street",`\
`"City": "",`\
`"Customer_Value": 5,`\
`"Country": "USA",`\
`"Email": "janedoe@mail.com",`\
`"First_Name": "Jane",`\
`"IsActive": true,`\
`"Join_Date": "2021-09-15",`\
`"Last_Name": "Doe",`\
`"Phone": "1237865",`\
`"Rating": 1000,`\
`"Zip_Code": "45" }]`\
`}`
* The sample Json will look as per the image below. The “customerslist” becomes a field in the “requestJS” variable. (The same sample will also be added in the API during API creation.) To save the settings, click the \[Save] button.
* To create the actions for this Flow component, go to the Code tab and create a new Action by clicking the (+) button.
* To store the details from the API source in the Json variable, define the first Action as follows:
1. Select Action as “Update Variable”.
2. Select Target Value as “requestJS”.
3. Select Source Value as Variables>Source>Details. It displays as “Source.Details”.
* To traverse the list of customers received, add another Action and define it as follows:
1. Select Action as “Traverse List”.
2. Select Target Value as Variables>requestJS>customerslist. It displays as “requestJS.customerslist”.
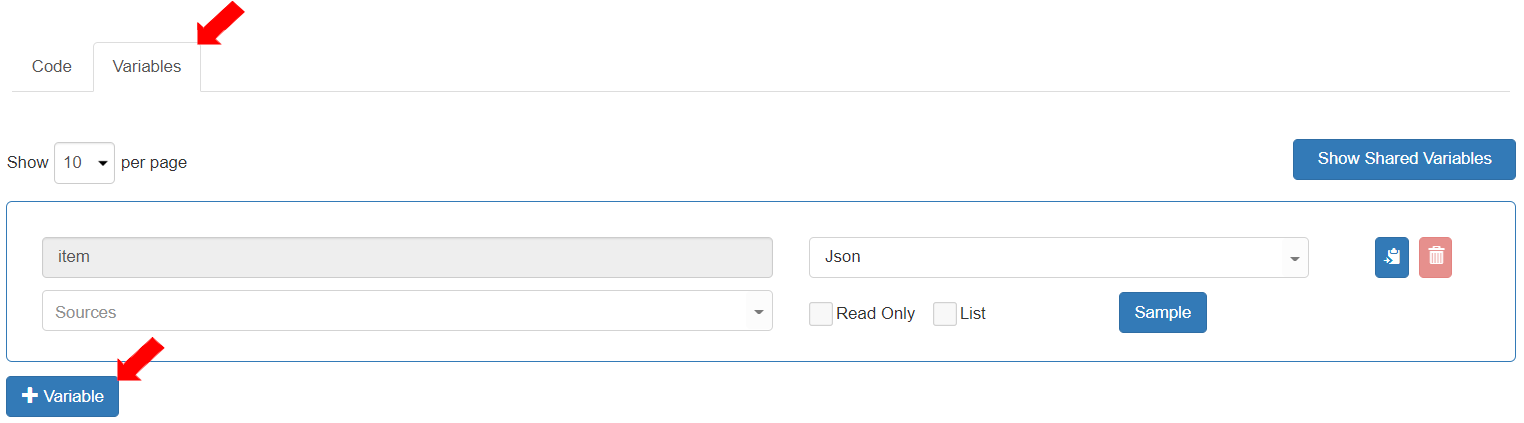
3. The field “Treat each element in the list as” is populated with the Variable “item”. The “item” represents the individual item in the list being traversed.
* The “item” variable is automatically listed in the Traverse List variables.\
To define variables to store the entity record, add a variable by clicking the \[+ Variable] button.
* To store entity fields, define the variable as follows:
1. Variable name: “customer”
2. Data type: “UserName\_Acc\_customers”
* To load the entity fields from the matching fields in the item (Json), add a new Action in the Traverse List Action and define it as follows:
1. Select Action as “Update Entity fields from json”. This action updates entity fields from the matching fields in the Json.
2. Select Target Value as “customer”.
3. Select Source Value as Variables>item. It is displayed as “item”.
4. Select “unset missing values”. So that If the field is not found in the json request, the Action will set the field in the target variable as unset.
* To create an entity record after the entity fields are loaded, add another Action in Traverse List Action by clicking the (+) button and define it as follows:
1. Select Action as “Create Entity record”. This action creates a new record to the Target Entity.
2. Add a new variable by clicking \[+] and name it as “createResult”. Click the \[Save] button to save this variable. This variable will be the data type JXPResponse variable and will display the success or failure of the record creation. Also, this variable will be automatically created in the variables tab of the traverse action.
3. Select Entity variable as “customer”.
* To save the Flow component, click the \[Save] button.
* To publish the Flow component, click the \[Publish] button.

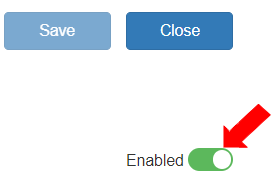
* To enable the Flow component, ensure it is enabled.