Step 2: Create the API gateway
To enable the validation to be executed, an API gateway needs to be created and defined. Create the API gateway for the validation and label it the same as “UserName_Acc_customers_validation”.
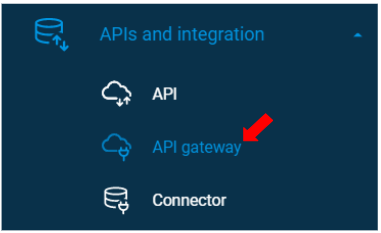
To go to the API gateway template, click “API gateway” under the “APIs and integration” menu on the left side panel.

To create a new API gateway, click the [+ API gateway] button.

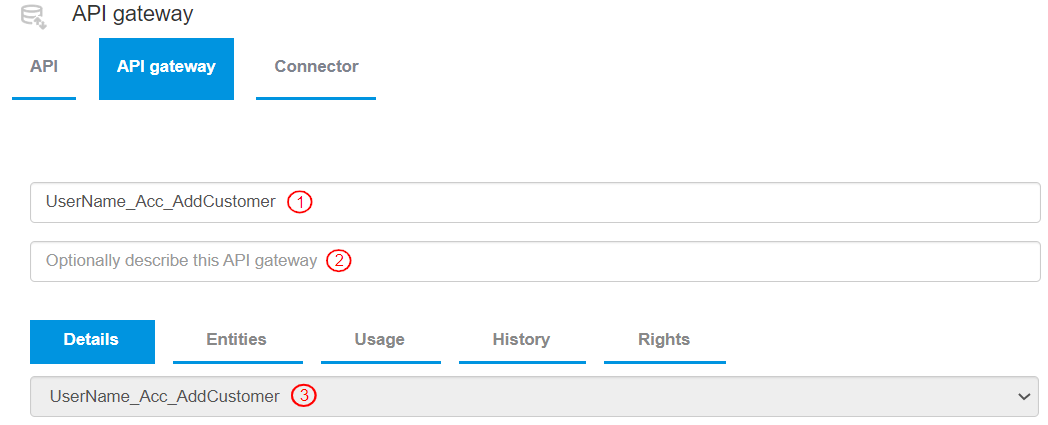
To define the API gateway, add the following details:
Enter the API gateway as “UserName_Acc_customers_validation”.
Optionally add the description for this API gateway.
By default, the Details tab is selected. From the drop-down, select API as “UserName_Acc_AddCustomer”. The user adds customer details in the API, and the details are added into the entity “UserName_Acc_customers” after validation.

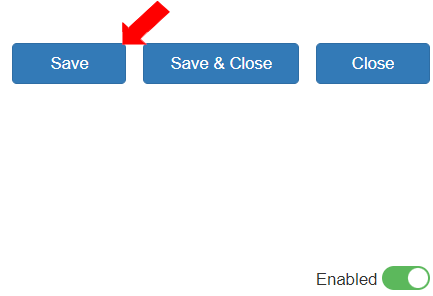
To save the API gateway, click the [Save] button. The Delivery URL section displays the selected API URL.

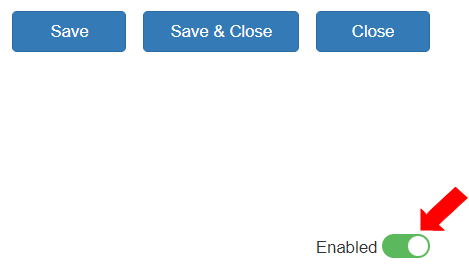
Enable the API gateway by clicking the “Enabled” toggle button.

Note: If this button is disabled, the validation will not have an API gateway to be executed through.
To see the Target Entity and Validation pipelines defined for it, go to the Entities tab. Select Validation as “UserName_Acc_customers_validation”.

To save the API gateway settings, click the [Save] button. This API gateway processes the data in the API with the Validation pipeline defined.

Last updated
