> For the complete documentation index, see [llms.txt](https://docs.langstack.com/welcome/llms.txt). Markdown versions of documentation pages are available by appending `.md` to page URLs; this page is available as [Markdown](https://docs.langstack.com/welcome/get-started/learn-langstack/introduction-to-flows-and-flow-components/exercise-2-store-list-of-customers/step-2-create-the-flow.md).
# Step 2: Create the Flow
To create the Flow, proceed with the following steps:
* To go to the Flows section, click “Flow” under the “Background processes” menu on the left side panel.
* To create a new Flow, click the \[+ Flow] button.
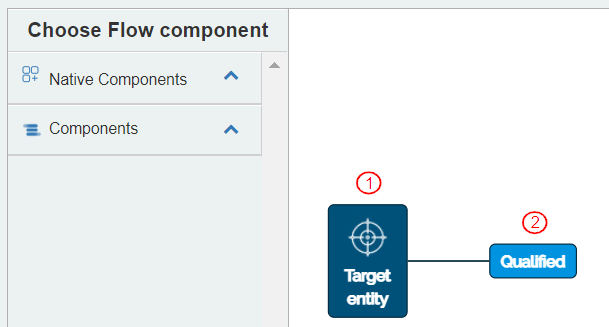
* A new Flow is displayed with the following icons:
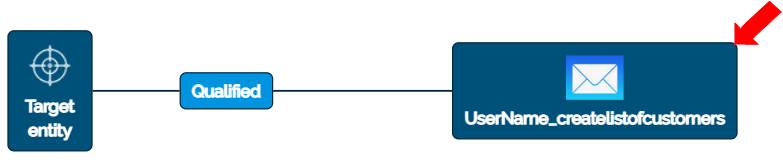
1. “Target Entity”
2. “Qualified” \
This indicates that the creation of Flow is qualified or enabled only when the Target Entity is present.
* To label the Flow:
1. Enter the Flow name as “UserName\_createlistofcustomers”.
2. Optionally enter the description for the Flow.
3. To define the target entity, select the entity “UserName\_Acc\_customers” from the drop-down menu. This defines that the customer activity record will be created in the entity “UserName\_Acc\_customers”.
4. Select Flow Progression Entity as "UserNameIflowApp\_progression".
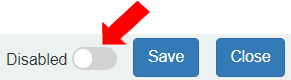
* The Flow is disabled by default. When the Flow is defined or updated, it must be disabled by clicking the toggle button. It can be enabled before executing the Flow.
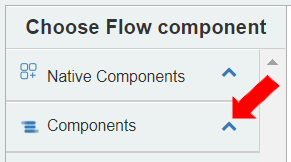
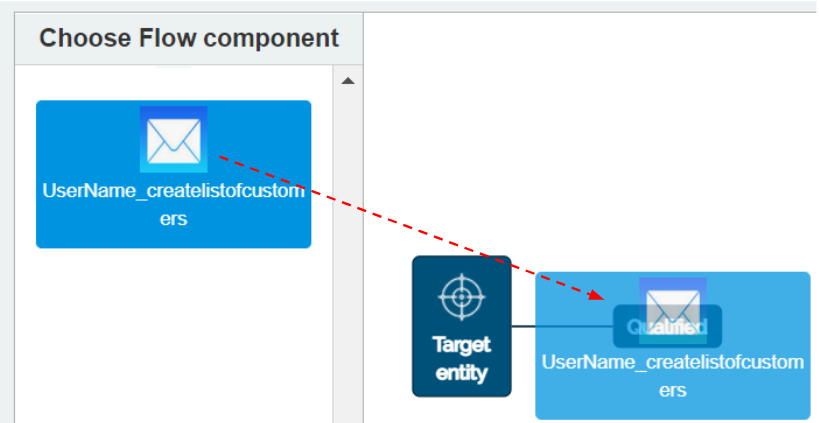
* To add Flow components to define this Flow, click “Components” on the left side panel as the Flow component “UserName\_createlistofcustomers” is user defined.
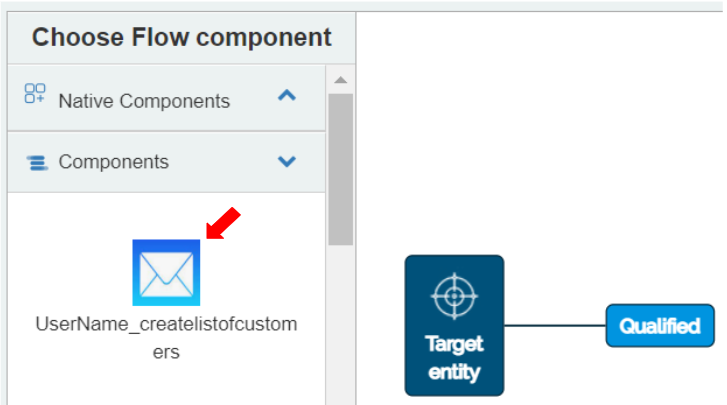
* The Flow component “UserName\_createlistofcustomers” is displayed.
* To place the Flow component “UserName\_createlistofcustomers” as the first activity in the Flow, select it and drag it onto the “Qualified” icon.
* The Flow component automatically gets placed on the right side of the “Qualified” icon connected with a line.
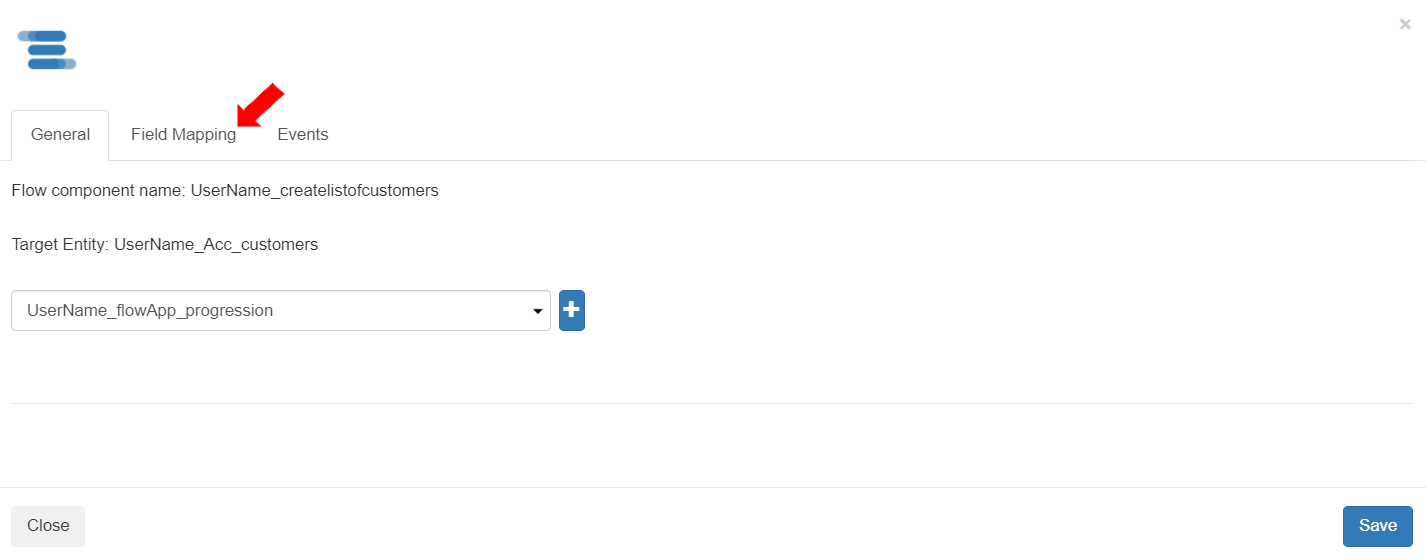
* To configure the Flow component in the flow, click on the Flow component. The Settings dialog box displays with the General tab selected as default.\
To define the Mapped Field for this Flow component, go to the Field Mapping tab.
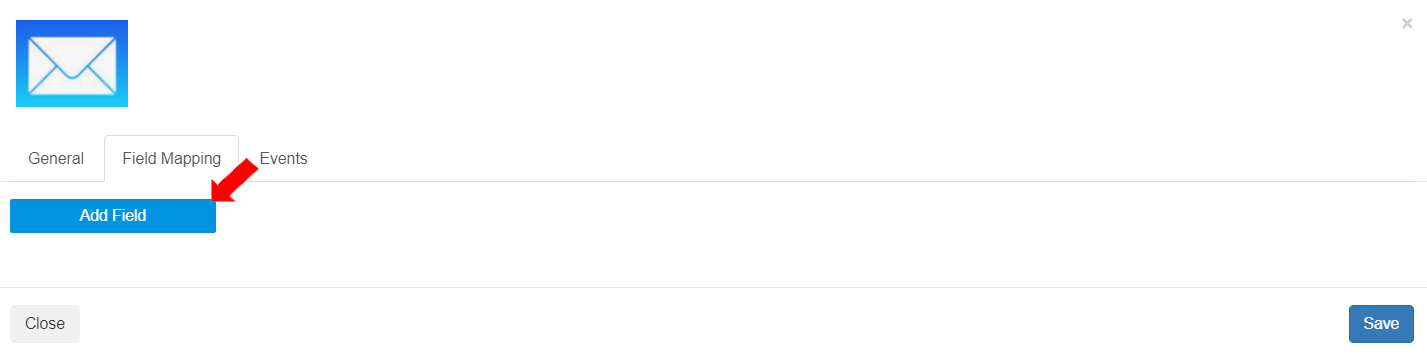
* Click the \[Add Field] button to add a Mapped Field.
* When the \[Add field] button is clicked, the created defined mapped field in the Flow component displays. In this case, it is “customer\_id”.
* To define the Sources, select Variables>sourceEntity>Customer\_ID. This defines that the customer\_id is mapped to the Customer\_ID field in the source entity. \
To save the Settings for this Flow component, click the \[Save] button in the Settings.
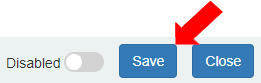
* To save the Flow, click the \[Save] button in the Flow UI.
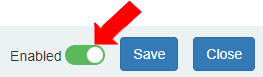
* To enable the Flow, click the \[Enabled] toggle button in the Flow UI. Status change message is displayed.
*
```
```