Set up Dropbox Connector
To set up Dropbox Connector, proceed as follows:
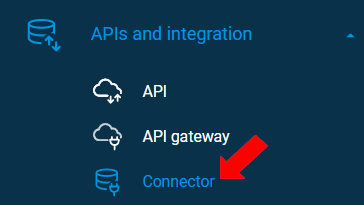
To go to the Connector module, select the Connector menu item under the Data Integration menu.

In the Data Integration module click the [+ Connector] button.

Enter Connector name and optionally provide a description.

Select Dropbox in Connector settings.
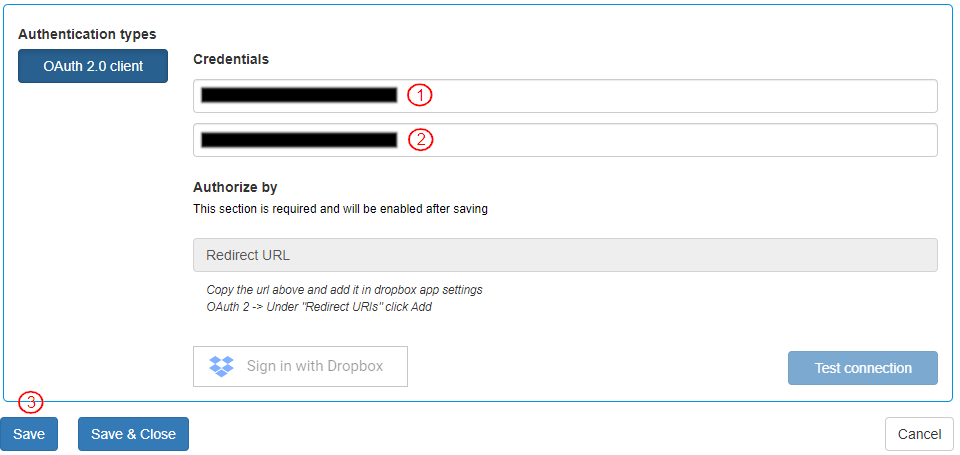
In the Connector settings, the OAuth 2.0 Credential Type settings are displayed. Enter the information (Credentials) generated in DropBox Account Setup.
Enter the following details generated in the Dropbox App Console:
Client ID
Client Secret
Click [Save] to save the details.

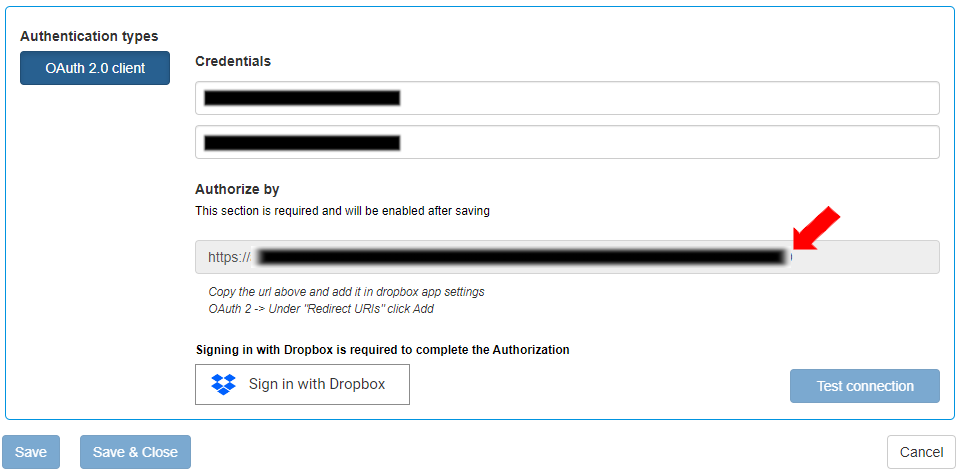
On clicking the [Save] button, the “Authorize by” section is activated and a redirect URL is generated.

A success message displays for successful connector creation.
For authorization through Redirect URL, follow the instructions below the url: “Copy the url above and add in Dropbox app settings OAuth 2 under “Redirect URIs” and click add.
Copy the generated URL and add it to the Dropbox Account. (click here for the steps for copying Redirect URI in Dropbox)
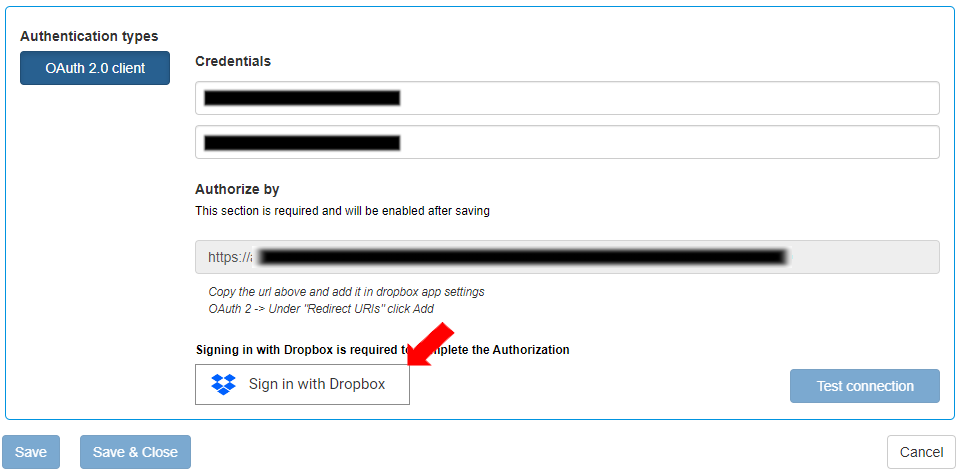
This will take the user to the consent screen. In this step, the user is asked to enter information indicating their agreement to the connection Langstack is trying to establish with Dropbox. (click here for the steps for user consent screen) When the URL is copied, click the [Sign in with Dropbox] button.

Click the [Test Connection] button to confirm if the connection is established.
Last updated
