> For the complete documentation index, see [llms.txt](https://docs.langstack.com/welcome/llms.txt). Markdown versions of documentation pages are available by appending `.md` to page URLs; this page is available as [Markdown](https://docs.langstack.com/welcome/in-depth-learning/connectors/aws-connector/set-up-amazon-web-services-cognito-console/retrieve-identity-pool-id.md).
# Retrieve Identity Pool Id
The Identity Pool must be created in the AWS console by a root user or a user that has been granted permissions by the root user. To get the Identity Pool Id, follow the steps below:
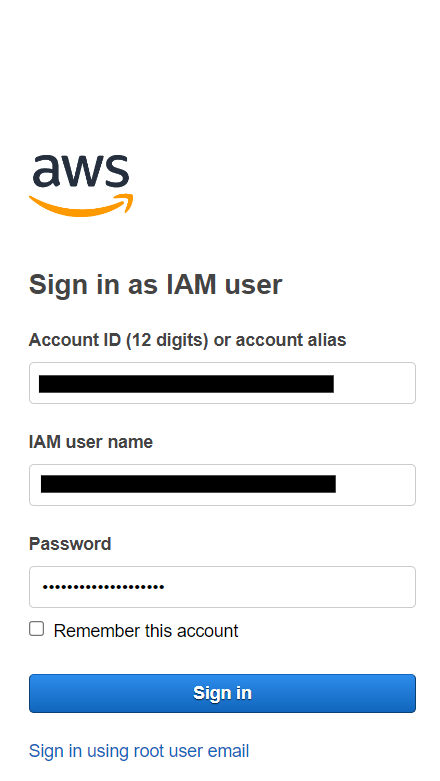
* Go to [Amazon Cognito Console](https://signin.aws.amazon.com/signin?redirect_uri=https%3A%2F%2Fus-east-1.console.aws.amazon.com%2Fcognito%2Fhome%3Fregion%3Dus-east-1%26skipRegion%3Dtrue%26state%3DhashArgs%2523%26isauthcode%3Dtrue\&client_id=arn%3Aaws%3Aiam%3A%3A015428540659%3Auser%2Fcognito\&forceMobileApp=0\&code_challenge=8WABOpxA-PEdRu7A35racf8THqn5FHQmdhE4dp6ioBs\&code_challenge_method=SHA-256).
* For an existing account, type email address and log in.
* To create a new AWS web services account click [here](https://signin.aws.amazon.com/signin?redirect_uri=https%3A%2F%2Fus-east-1.console.aws.amazon.com%2Fconsole%2Fhome%3Ffromtb%3Dtrue%26hashArgs%3D%2523%26isauthcode%3Dtrue%26region%3Dus-east-1%26skipRegion%3Dtrue%26state%3DhashArgsFromTB_us-east-1_4fc294fa47768685\&client_id=arn%3Aaws%3Asignin%3A%3A%3Aconsole%2Fcanvas\&forceMobileApp=0\&code_challenge=eSgm4leHWZQauqc-9Pd31zcds3GBybHJ3jTiukQhpu8\&code_challenge_method=SHA-256) and click on \[Create a new AWS account] and complete the steps to create the account.
Note: Some users may not have permissions to access the Cognito console if they are not root users. In this case, please contact the root user for granting access.
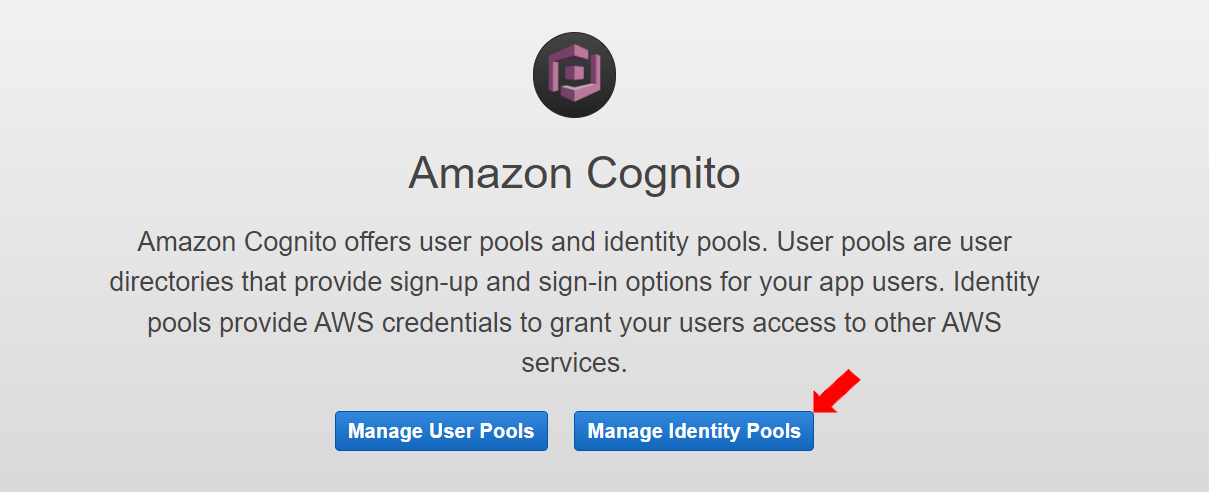
* Go to Amazon Cognito Console and click on \[Manage Identity Pools].
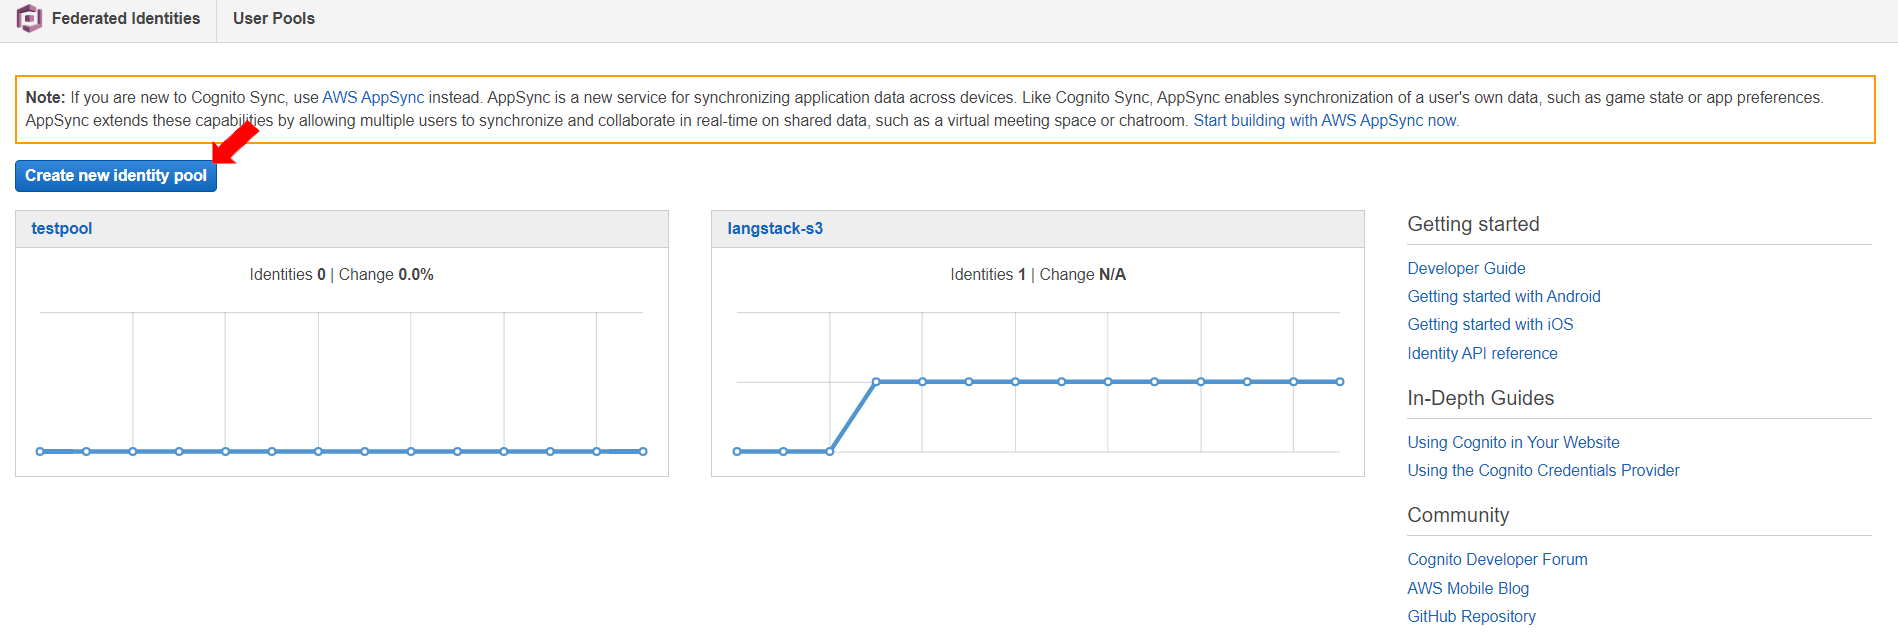
* Click “Create new identity pool”.
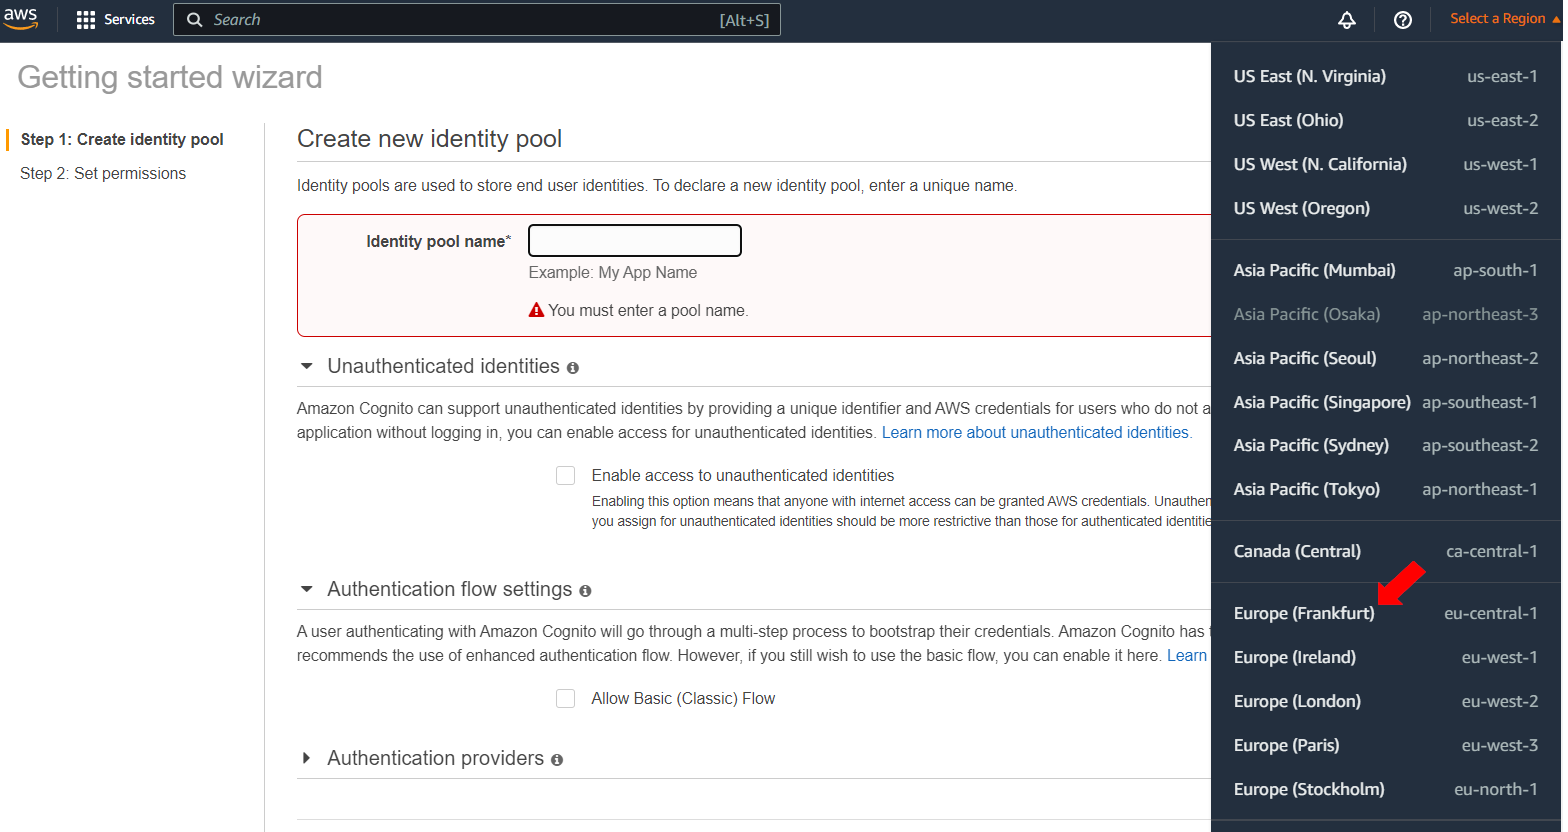
* Ensure to select the correct region.
*
```
```
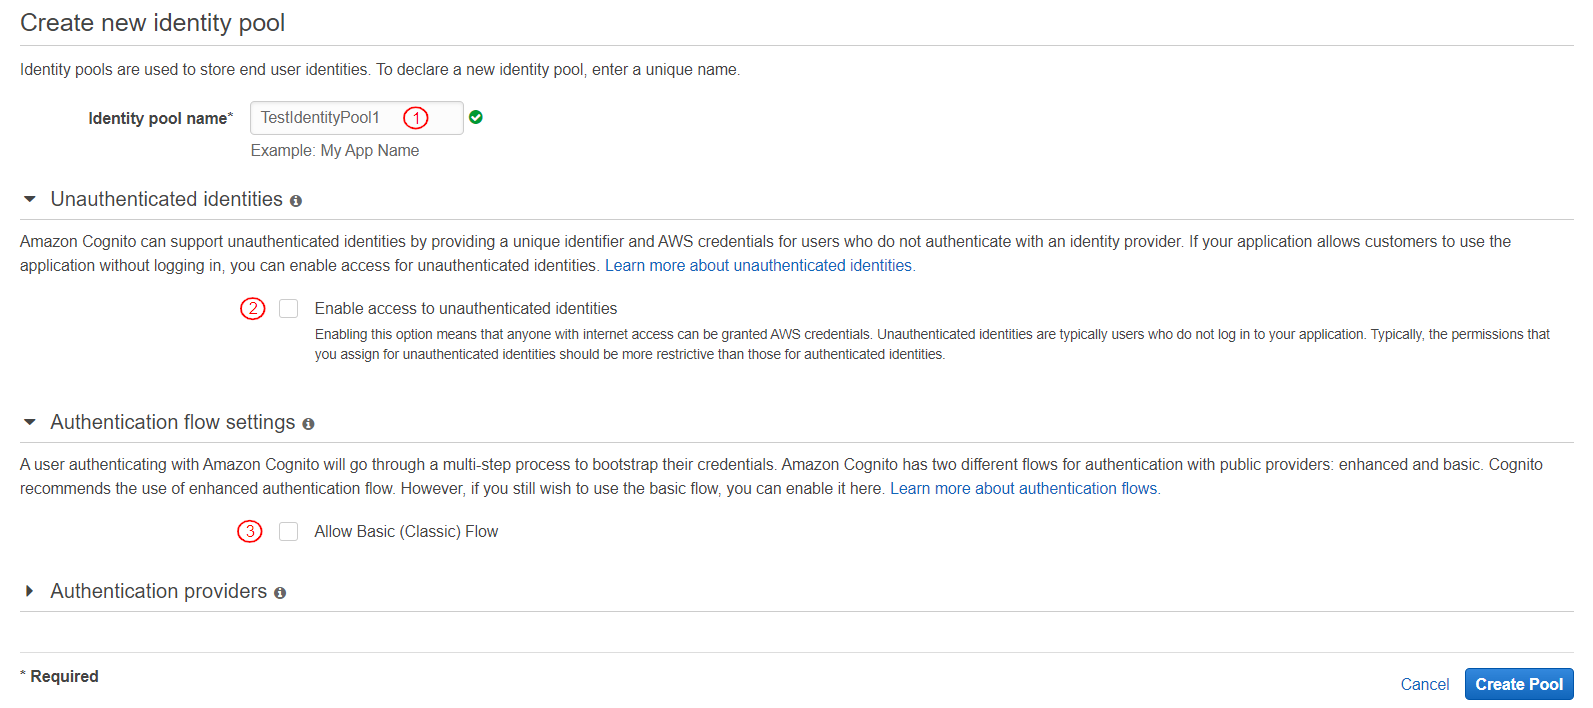
* In the Create Identity Pool page, configure the following details:
1. Enter Identity Pool Name.
2. Leave option for “Unauthenticated Identities” unchecked.
3. Leave option for “Authentication flow settings” unchecked.
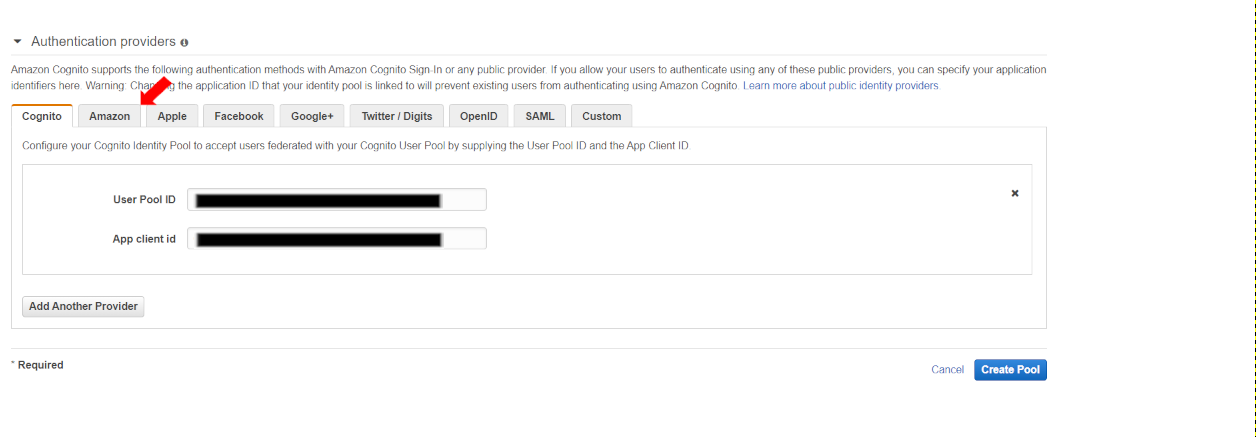
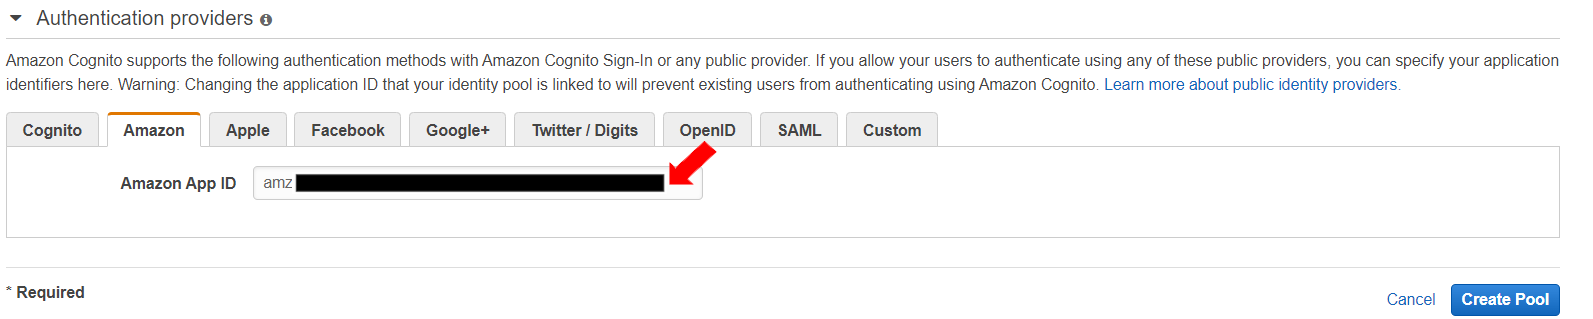
* Expand Authentication Providers and select the Amazon tab.
* Enter Security Profile id.
* To create an Identity Pool, click \[Create Pool].
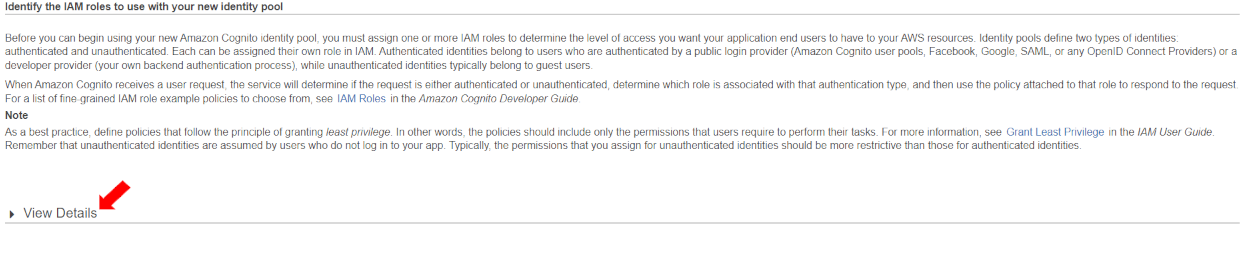
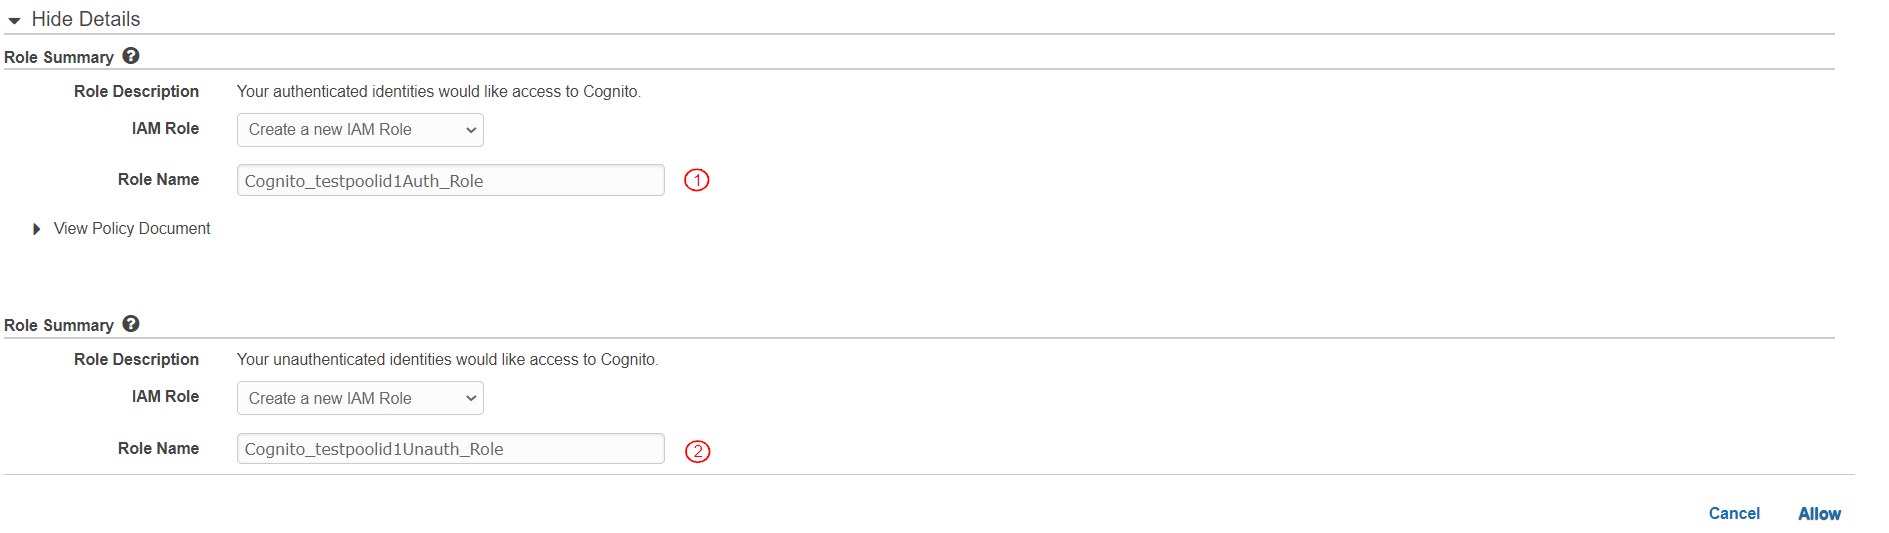
* The page displays for identifying IAM roles associated with the identity pool. Click on “View Details” to expand the section.
* The expanded section displays the role summaries for the following:
1. IAM Role Name for Authenticated Identities access to Cognito.
2. IAM Role Name for Unauthenticated Identities access to Cognito.
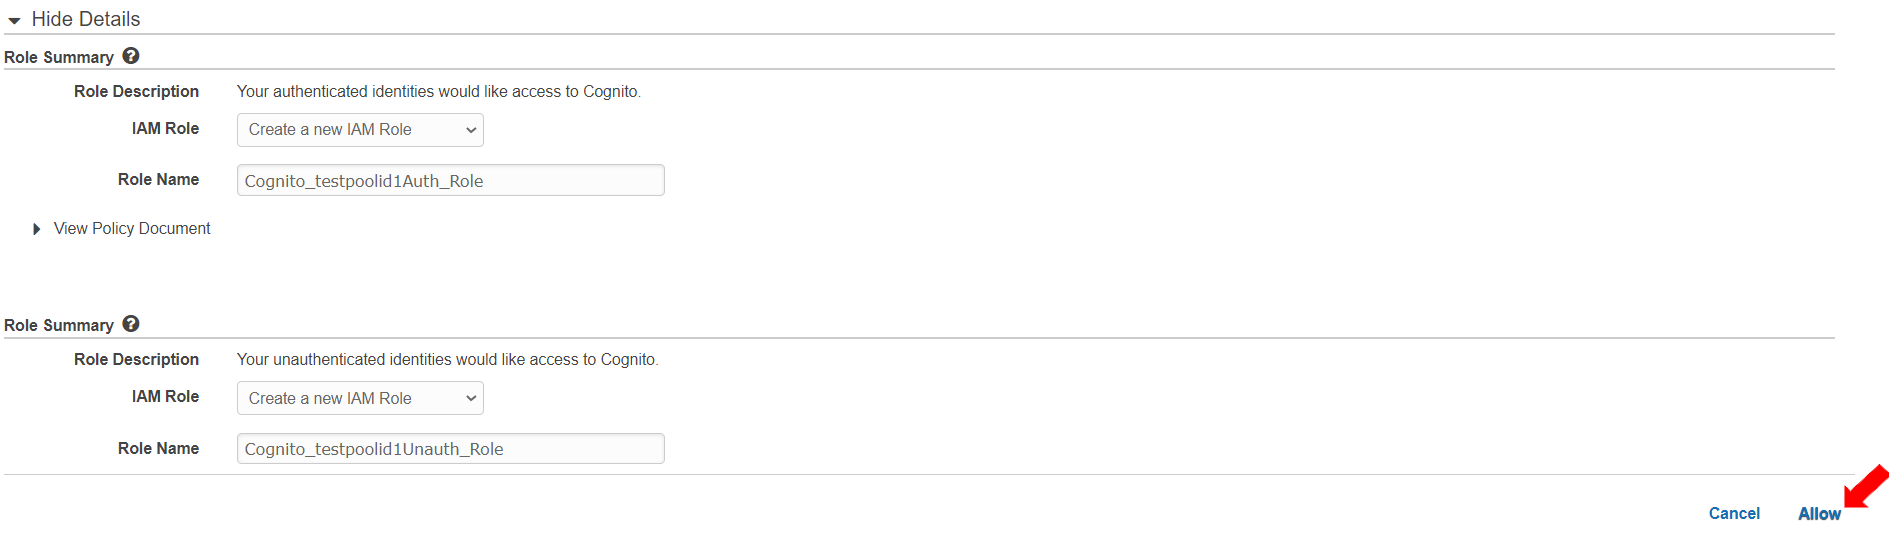
* Click \[Allow] to create the roles.
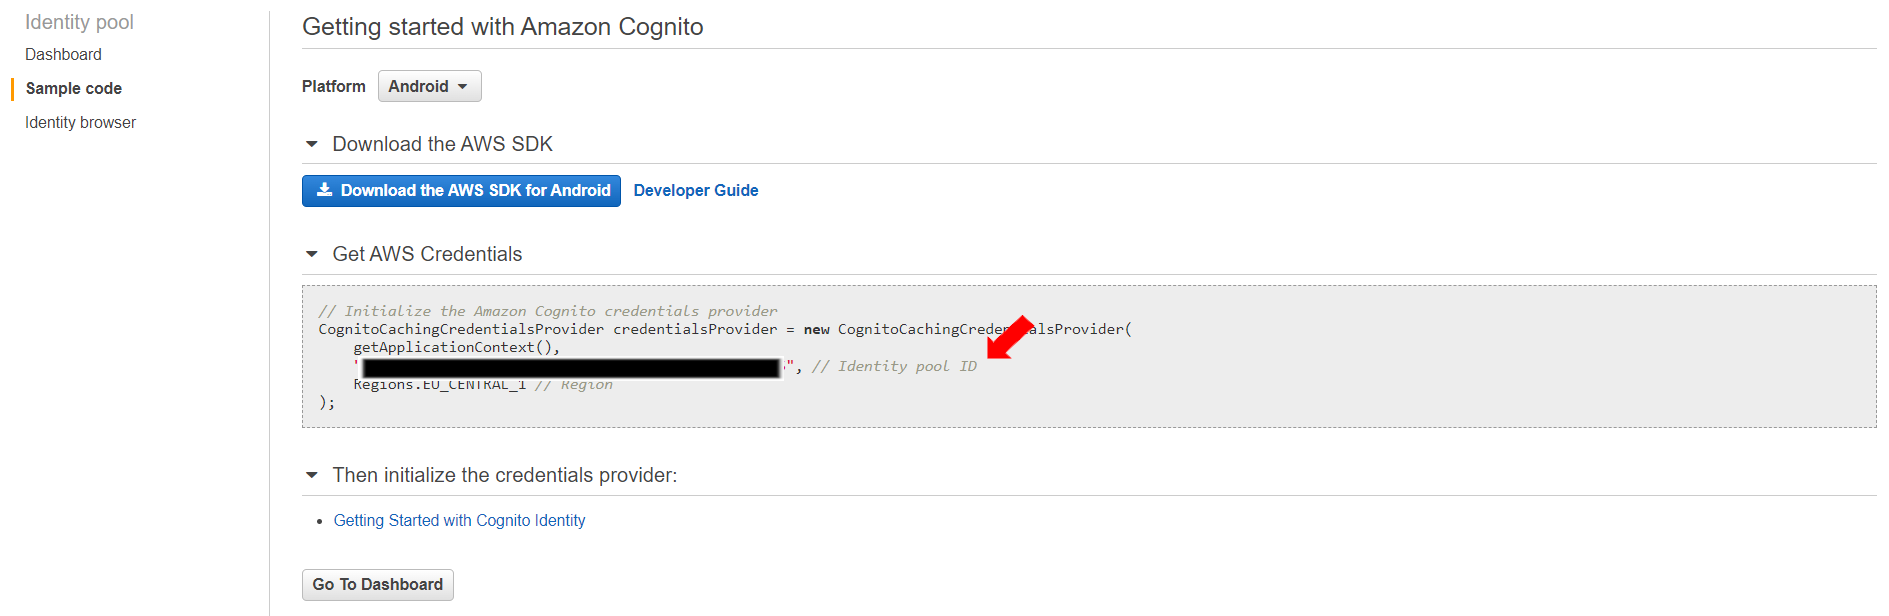
* The “Sample code” page displays. Select the Identity pool ID from the code and secure it for later use. (highlighted red and in quotes).
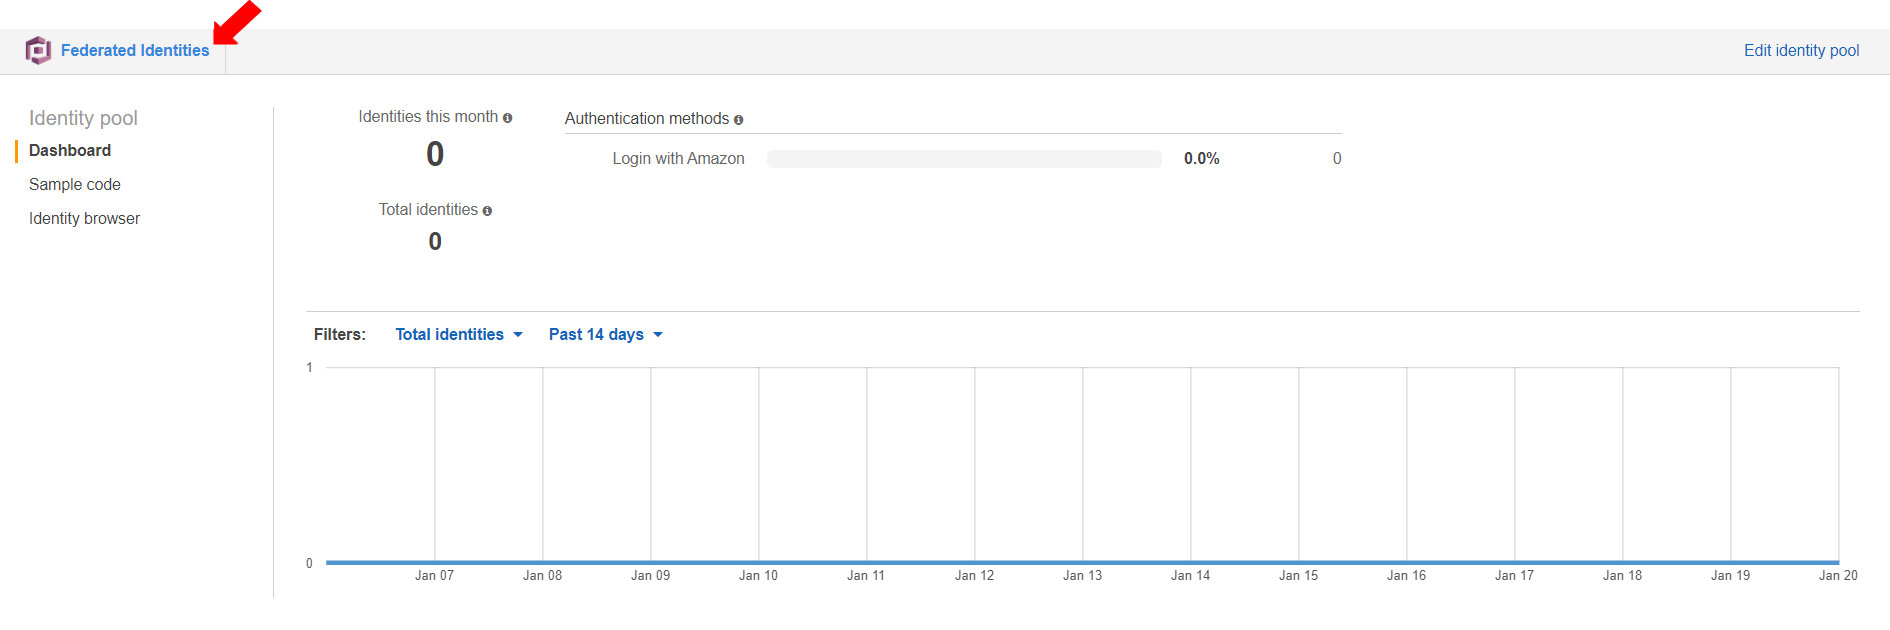
* Click “Go to Dashboard” and click “Federated Identities”.
* The created Identity pools are displayed there.