> For the complete documentation index, see [llms.txt](https://docs.langstack.com/welcome/llms.txt). Markdown versions of documentation pages are available by appending `.md` to page URLs; this page is available as [Markdown](https://docs.langstack.com/welcome/get-started/learn-langstack/introduction-to-etl-pipeline/exercise-3-etl-pipeline-database-source-and-mysql-connector.md).
# Exercise 3: ETL pipeline, Database Source & MySQL Connector
In this exercise, store data in a MySQL database from Langstack Entity.
## Requirements
* Store the data through the ETL pipeline.
* Source data is in a Langstack Entity.
* The destination for the source data is a MySQL file. Use a MySQL tool as a connector. In this exercise, the tool in use is MySQL Workbench.
* File must be residing on the MySQL connector before the execution of the ETL pipeline starts.
* A source entity should be created beforehand. In this exercise, the Entity “UserName\_Acc\_customers” is used.
## Solution
* Open the MySQL tool.
* Create a table with the column names exactly as field names in the Entity “UserName\_Acc\_customers” and name it “Exercise\_Acc\_customers”. Define the following columns:
1. Customer\_ID
2. First\_Name
3. Last\_Name
4. IsActive
5. Phone
6. Email
7. Join\_Date
8. Address
9. City
10. Zip\_Code
11. Country
12. Customer\_Value
13. Rating
* To go to the ETL pipeline template, click on “ETL pipeline” under the “Data management” menu on the left side panel.
* To create a new ETL pipeline, click the \[+ ETL pipeline] button under the “ETL pipeline” tab.
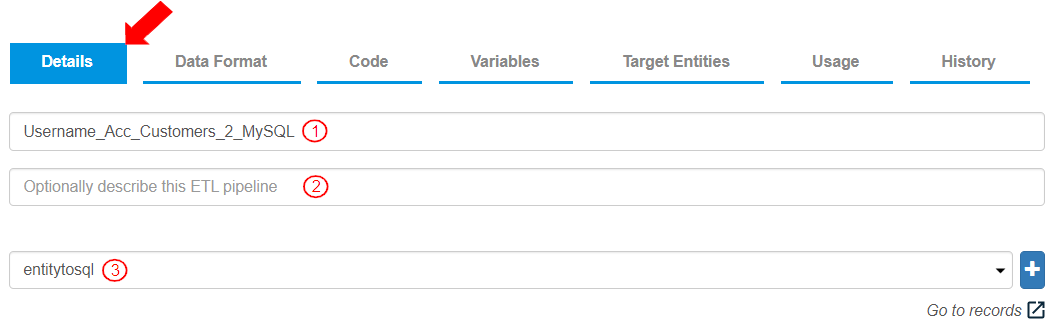
* To label the ETL pipeline and execution log entity, add the following information:
1. Enter the “ETL pipeline” name as “Username\_Acc\_Customers\_2\_MySQL”.
2. Optionally add a description for this ETL pipeline.
3. Enter a name for the execution log for this ETL pipeline as “entitytosql”. This log will be updated each time the ETL pipeline is executed and can be viewed by clicking “Go to records”.
* To connect to the data source, add the necessary information needed in the “Data Source” section:
1. Select the “Entity” tab.
2. Select “UserName\_Acc\_customers” from the drop-down menu.
* To connect to the data destination, add the necessary information in the “Data Destination” section:
1. Select the “Connector” tab.
2. In this exercise, “Tutorial\_MySQL” is selected from the drop down menu. The connector can be added by selecting a connector from the drop-down menu or a new connector can be created by clicking the \[+] button.
3. Click the “Edit the settings” arrow. In the settings, to add or update the details for the SQL Connector, update the required fields ([Click here for the steps to create and update a connector](/welcome/get-started/learn-langstack/connectors/mysql-connector.md)).
* To disallow multiple requests simultaneously, leave the toggle button enabled for “skip execution while in progress”. Enabling this toggle button defines that the execution of this ETL pipeline will be skipped when there is one already in progress.
* The default value for ETL pipeline execution is selected as “Immediate”. For this exercise, keep it as is.
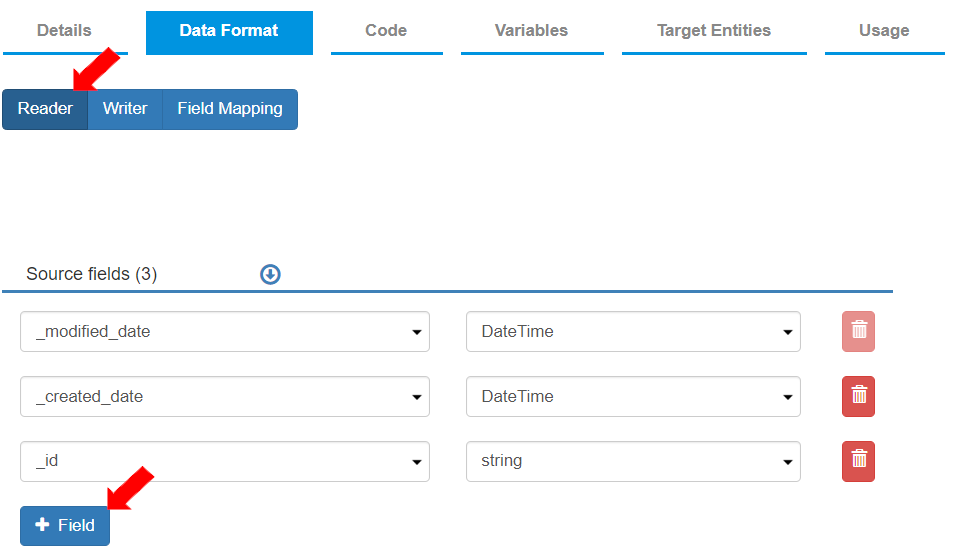
* To align the source fields with destination fields, click on the “Data Format” tab. In this tab, the settings for the reader and writer format are defined (based on the settings for the data source and the data destination).\
The “Reader” tab is selected by default.\
To add source fields, click the \[+Field] button. Add all required fields.
* All the added fields with their corresponding data types display as per the image below.
* To update the settings for how the data from the source should be written to the target destination, select the “Writer” tab.
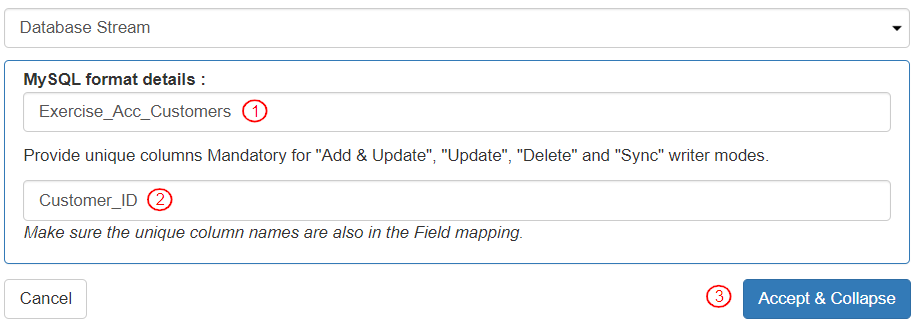
1. Select writer stream as “Database Stream”.
2. Click the “Edit the settings” arrow.
* To add details necessary to write the records, define the settings in this section “MySQL format details”:
1. Add Table name as “Exercise\_Acc\_Customers”. This is the name of the table that the ETL pipeline will write the data. This name must be exactly the same as the name for the destination table name.
2. Add “Customer\_ID” as the Unique Column name. In the Entity “UserName\_Acc\_customers”, “Customer\_ID” is the unique field.
3. Click the \[Accept & Collapse] button. This will save the information related to the destination table/file.
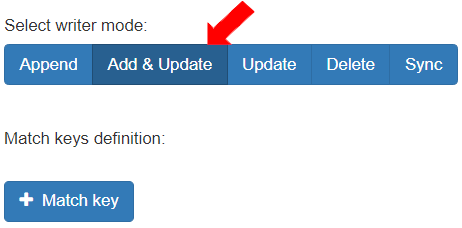
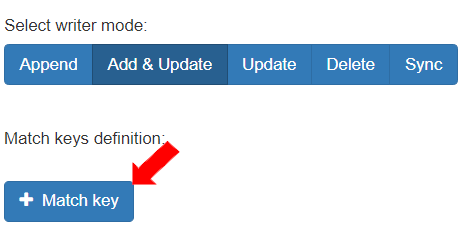
* To add and update the records, select the “Writer” mode as “Add & Update”.\
This mode defines that based on the match key specified, if a record is missing in the destination table and is present in the source Entity, the record will be added to the destination table and the data of the table will be updated.
* To provide a criteria for the “Add & Update”, Click the \[+ Match key] button.
* Define a match key as follows:
1. Select the Matched key as “Customer\_ID”.
2. Select the Writer sources as “Customer\_ID”. This defines that based on the “Customer\_ID” field, the records will be read from the Entity and written into the destination table. If a record is present in the source Entity and not present in the destination table, the record will be added and updated in the destination table.
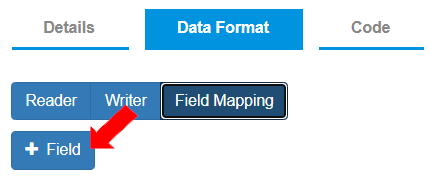
* To map the reader source fields to the entity destination fields, select the “Field Mapping” tab.\
To add the Mapped Fields, click the \[+ Field] button and add relevant information.
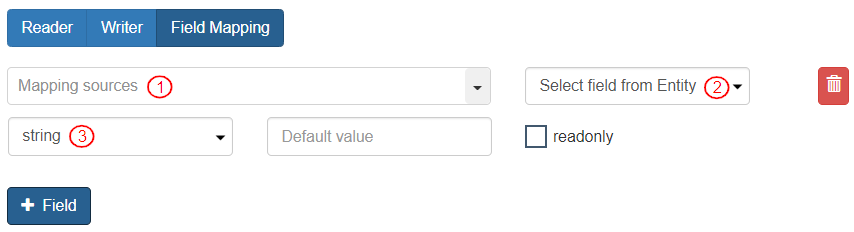
* To align the fields, add the following information:
1. Select the “Reader” field in “Mapping Sources” by clicking the drop-down menu. e.g. in case of Customer ID, click on the “Mapping sources” drop-down menu, select Reader Fields>Customer\_ID.
2. Enter destination column to map the reader field to in Mapped to e.g. in case of Customer ID, enter “Customer\_ID”. The destination table column name is exactly the same as the name entered in this field.
3. Select data type e.g. in case of “Customer\_ID”, select “GUID” (as this is the data type mentioned for “Customer\_ID” in the Entity).
* Add all the “Mapped Fields” in the exact same top-down position as specified in the “Reader” tab.
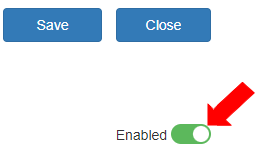
* To save the ETL pipeline, click \[Save].
* To publish the ETL pipeline, click \[Publish].
* Ensure the ETL pipeline is enabled.
* Click the \[Run] button.
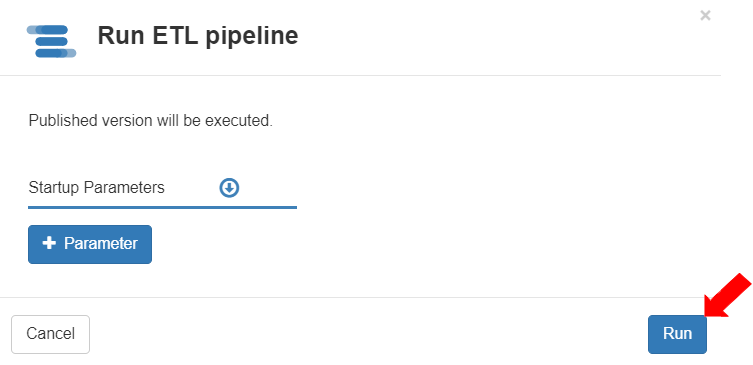
* The Run ETL pipeline dialog box displays. Click \[Run] to execute the ETL pipeline.
* The ETL pipeline will be executed and the records will be added to the destination file.
* To verify, go to MySQL Workbench and add the command to retrieve all records from the Entity. The column names will be displayed as per image below.
* Run the command. The records from the Entity “UserName\_Acc\_customers” will be displayed.