Service Account Key Credentials
Creating Service Account
To use Service account option first create Service account in your project as below:
Navigate to the APIs & Services→Credentials panel in Cloud Console.

Click [+ Create Credentials], then select Service Account from the drop down menu.
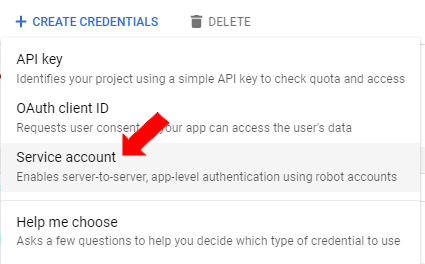
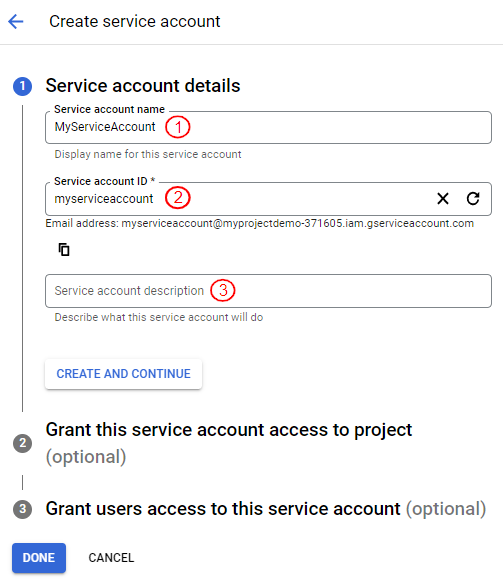
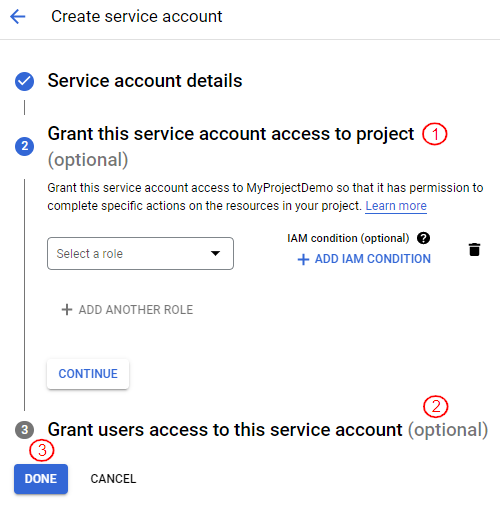
Under Service account details
Enter a name
The ID is generated.
Add description for the service account.
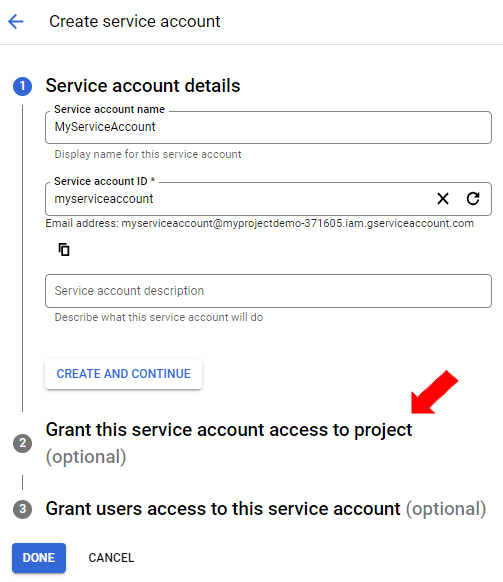
Users can also optionally set up the “Grant this service account access to the project” and “Grant users access to this service account”.
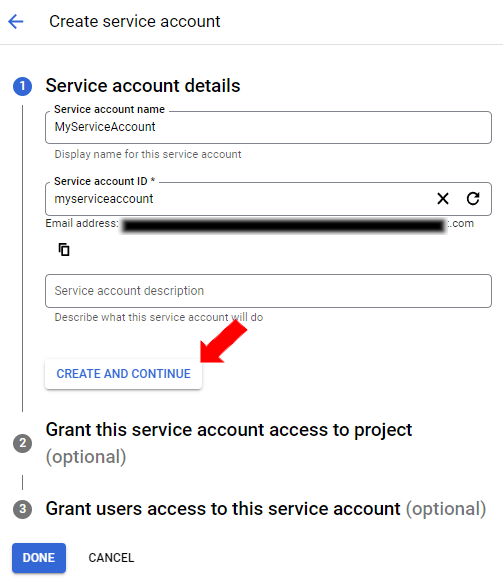
To continue after Service account details, click [Create and continue].
To configure Grant access options, move to the next step.
Optional: Under Grant this service account access to the project, select the IAM roles to grant to the service account.
Optional: Under Grant users access to this service account, add the users or groups that are allowed to use and manage the service account.
After defining any or both of the above, click [Done].
Creating Service Account Key
After creating a Service Account, create a Service Account Key as follows:
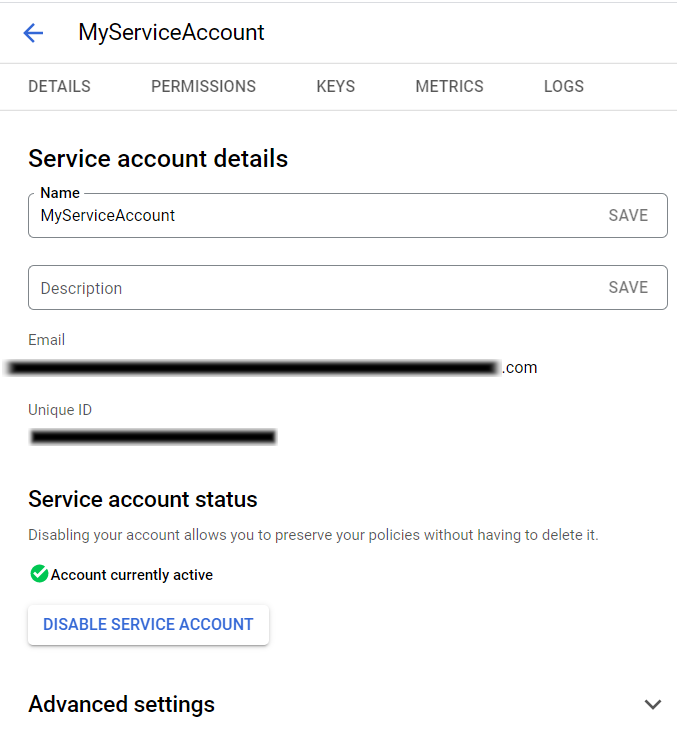
In the created Project>Credentials section, click the email address or edit icon to generate a key for this service account.

Service Account Settings display.
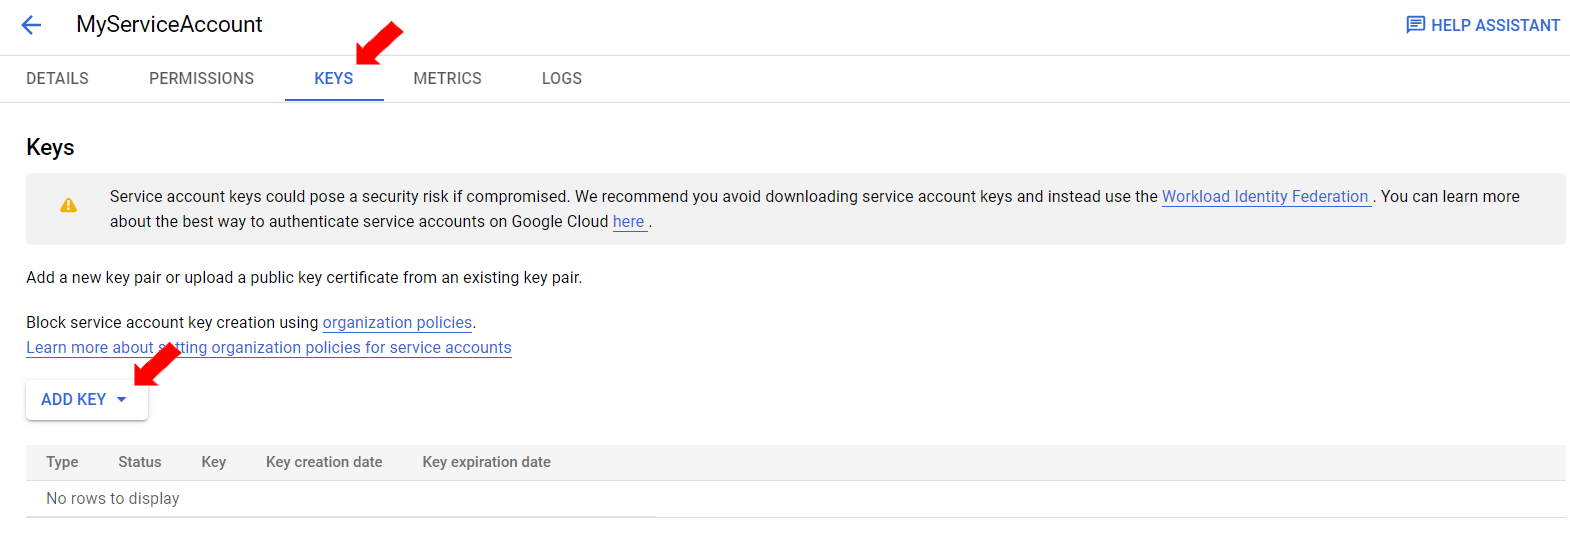
Select the Keys tab and click the Add Key drop-down list.
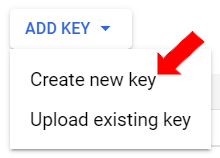
Click Create new key.
Select JSON and click [Create].
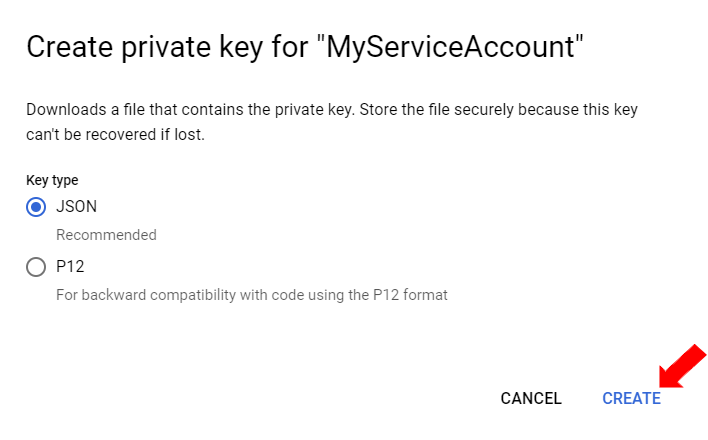
A JSON file will be downloaded automatically.
New public/private key pair is generated and downloaded to your machine. Open the json file that is just downloaded and provide the required details by selecting the details from the file between double quotes (client_id, client_email, private_key) while creating connector in Langstack.
Open the Json file to see the details of the credentials.
Last updated
