OAuth 2.0 Client Credentials
Configuring Consent Screen for OAuth 2.0 Client Option
To create OAuth credentials first configure the consent screen. As the name explains, this set of configurations reflects the information of the user, the app, and what sort of permissions the user agrees or consents to be accessed from their Google Drive.
To create credentials, navigate to the APIs & Services→Credentials panel in Cloud Console.

Click [Configure Consent Screen].

The "OAuth consent screen" page appears.
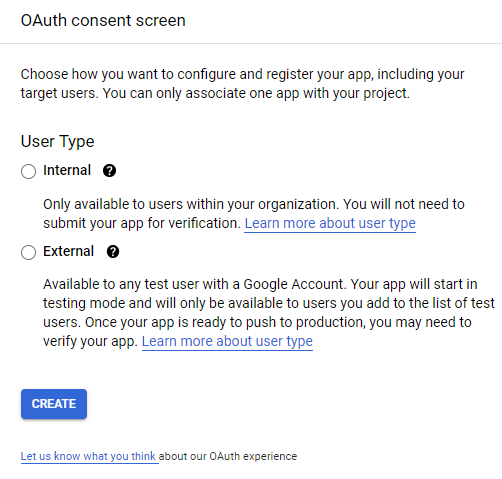
Click the User Type for your app. Select "External".
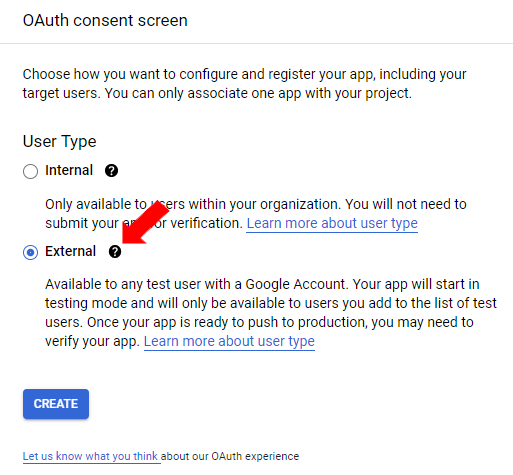
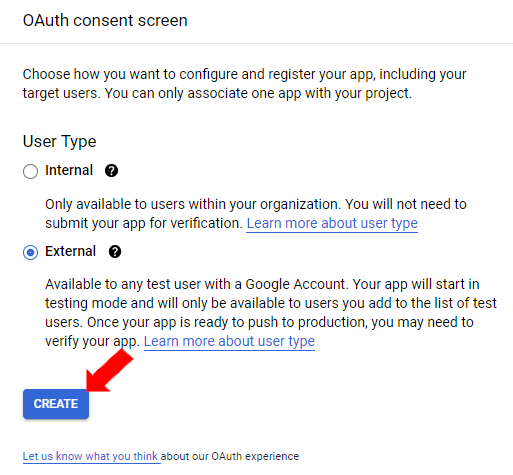
Click [Create].
The "Edit app registration" screen displays.
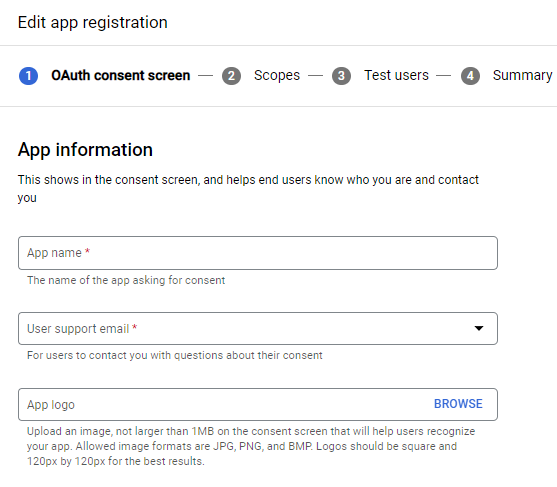
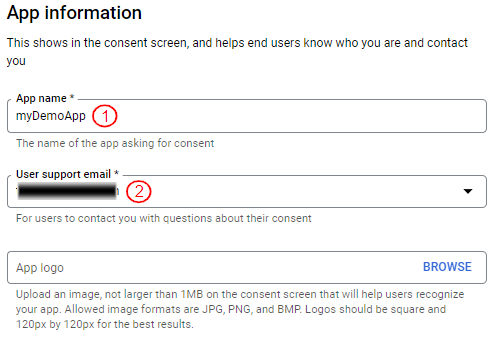
Under OAuth Consent Screen, fill out the relevant details in the "App information" section.
Name in the App name field.
Personal email address in the User support email field.
Scroll down to the "Developer contact information" field.
Enter the email address
Click "Save and Continue".

The "Scopes" page appears. Click the [Add or remove scopes] button. This allows the user to add or remove the permissions on the types of data that is accessible.
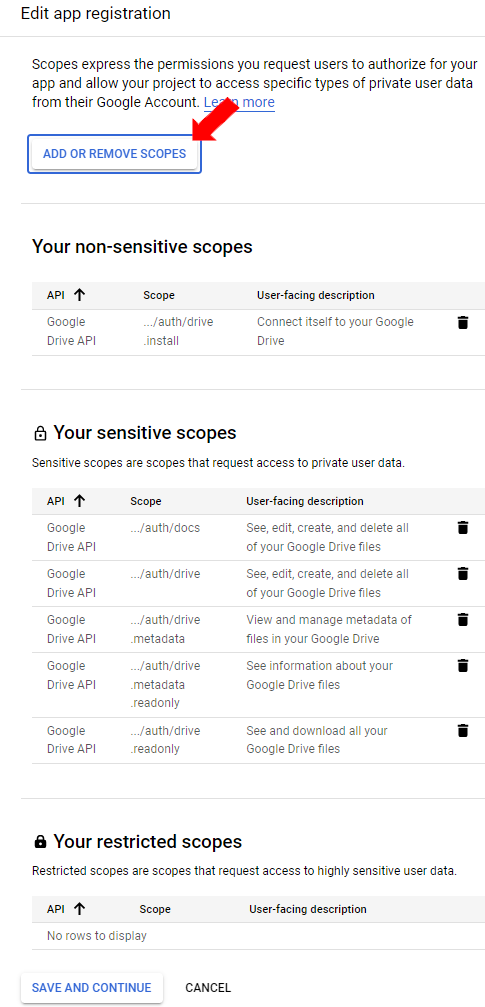
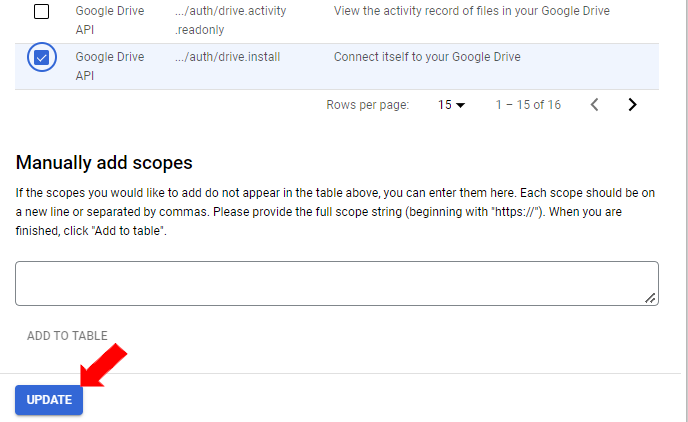
In "Update selected scopes", filter "Google Drive API".
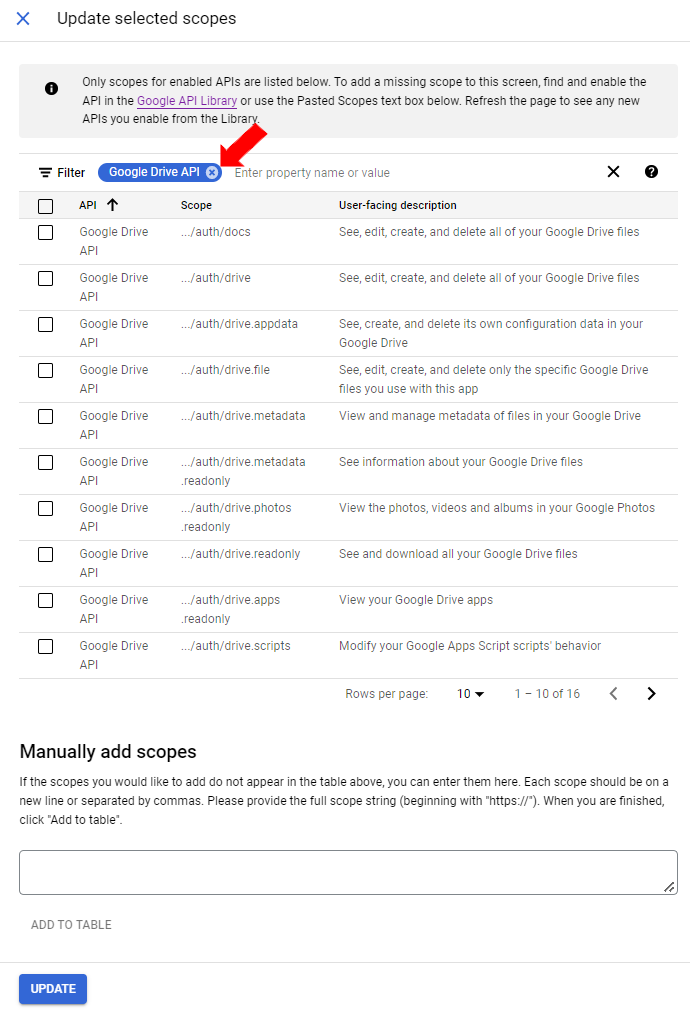
Select the required scopes. These scopes are the permission settings for the files to be accessed on the Drive.
For downloading, uploading, and connecting, check the “ “/auth/drive” checkbox. This defines that the connector has all the required permissions.
Other checkbox can be checked as well, including:
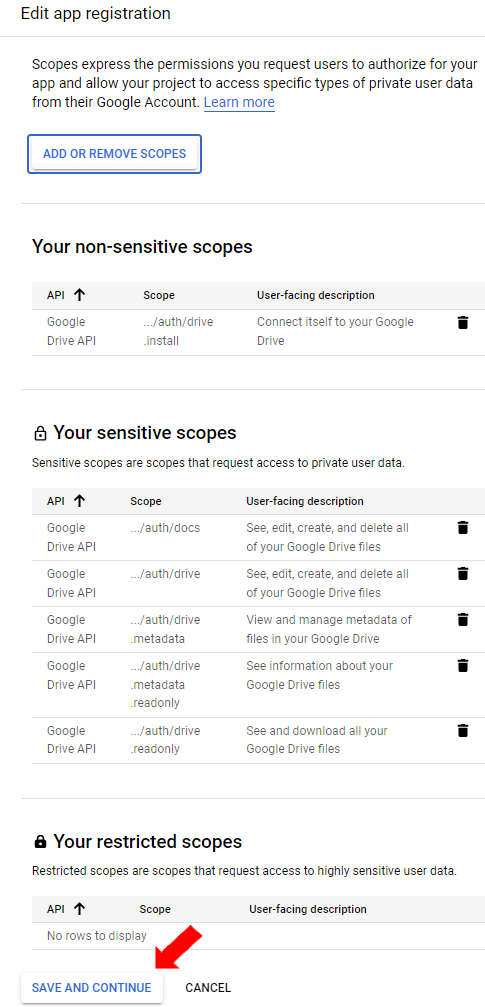
“/auth/docs”
“/auth/drive.metadata”
“/auth/drive.metadata.readonly”
“/auth/drive.readonly”, and
“/auth/drive.install”.
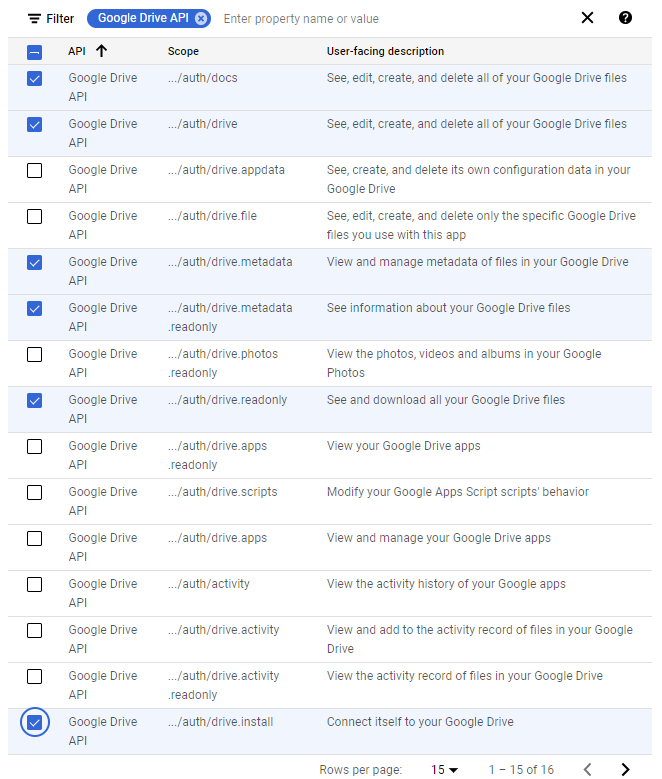
Click [Update].
A list of scopes for your app appears. Click [Save and Continue].
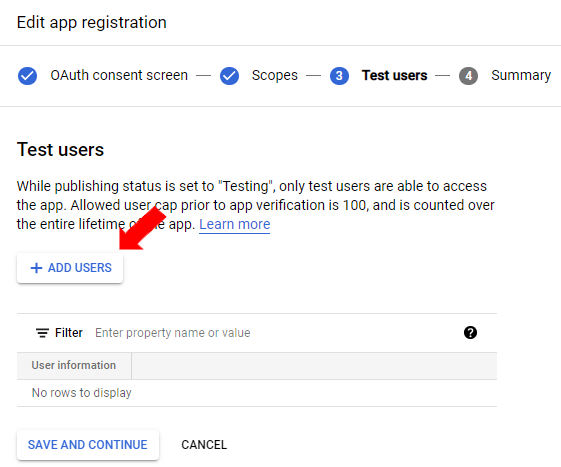
The “Test users” page appears. Add a test user which can authorize if the app is in testing. Click "[+ ADD USERS]".
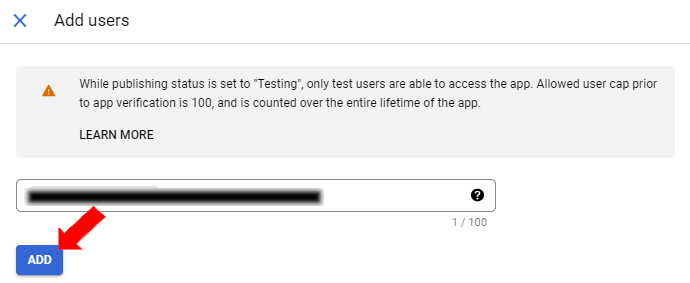
Add the email and click add.
Click [Save and Continue]. The "Summary" appears which will show all the settings.

OAuth consent screen is created successfully and a summary is displayed.
Creating OAuth Credentials
Navigate to the APIs & Services→Credentials panel in Cloud Console.The "Credentials" page appears.

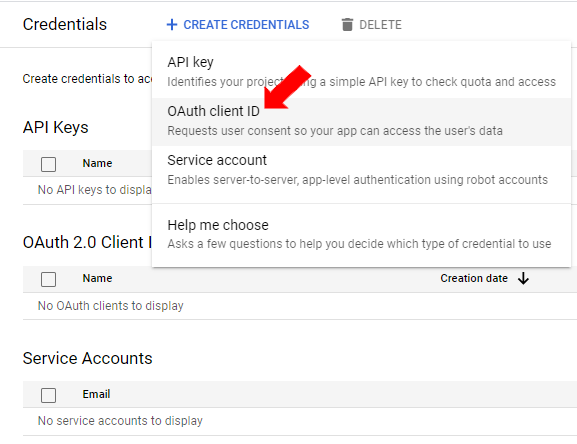
Click [+ Create Credentials] and select OAuth client ID. The "Create OAuth client ID" page appears.
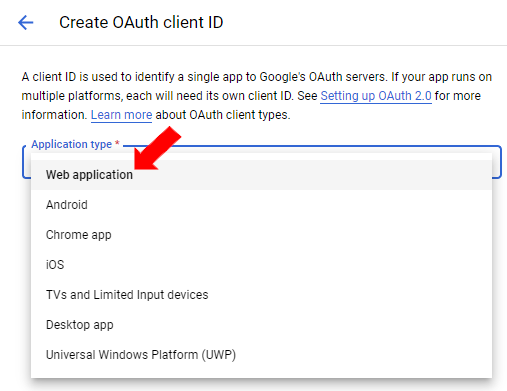
Click the Application type drop-down list and select Web Application.
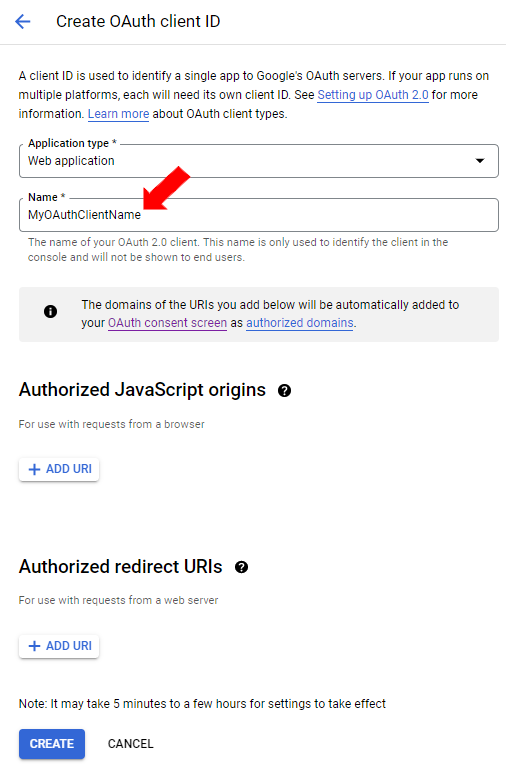
In the name field, type a name for the credential. This name is only shown in the Cloud Console.
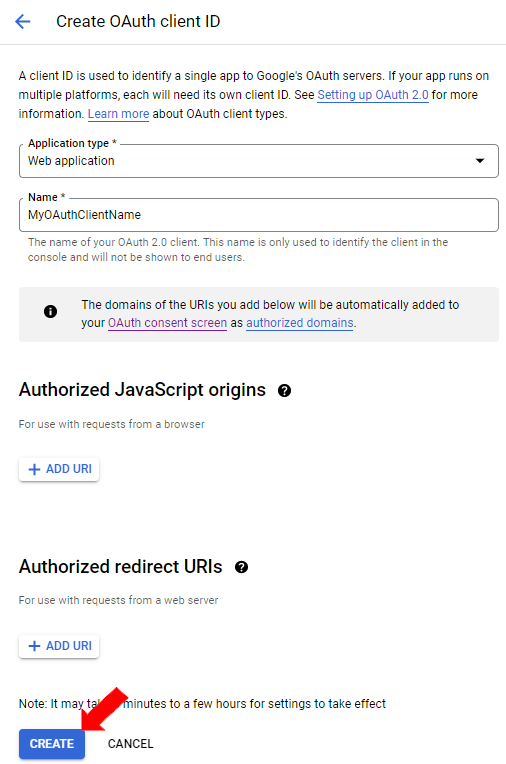
Click the [Create] button.
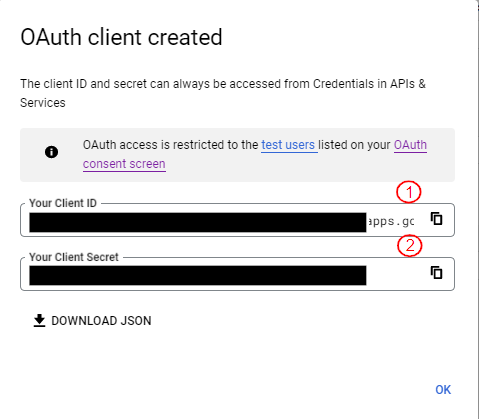
An OAuth client is created. Save the following generated unique details which would be required while creating the Google Drive connector in Langstack cloud:
Client ID
Client Secret
Last updated
